How to add a new area
BackAdding a new area
1. Navigate to Location Management.

2. Click on "Add Area".

3. Click on the "Name" field.

4. Type the name of your new area.
5. Click on the "Label" field.

6. Type the name of your new area.
7. Click on the "Ticket Text" field.
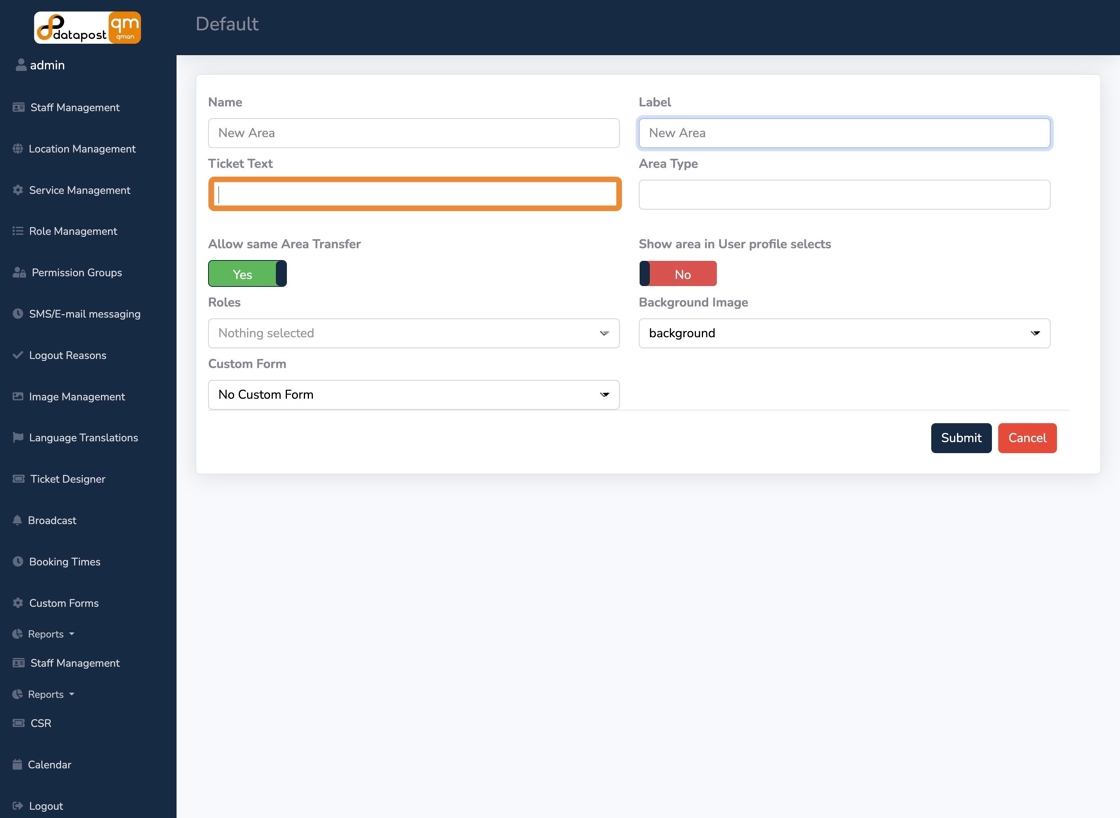
8. Type "New Area".
9. Click on the "Area Type" field.

10. Type "default".
11. Toggle "Show area in User profile selects" from "No" to "Yes"

12. Click on "Roles" field.

13. Select "Default" option.

14. Select "background" option.

15. Click on "Submit".
