How to set up an interactive project in XID
BackStep-by-step guide on how to add pages
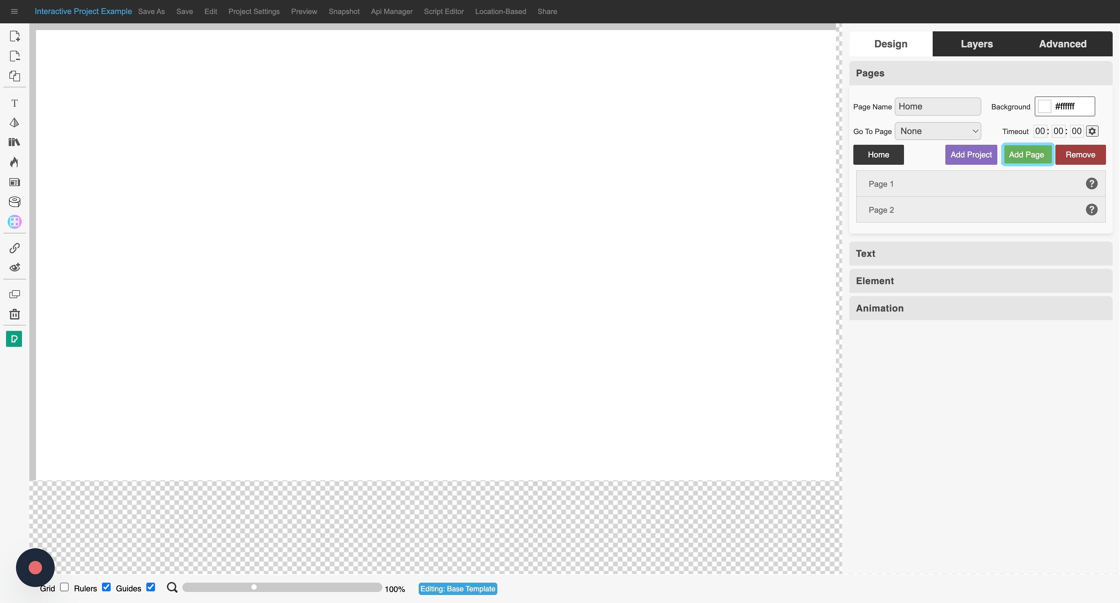
1. Click on "Pages" in the panel on the right.

2. Click on "Add Page".

3. Page 1 will be added. Click on "Add Page" again to add Page 2.

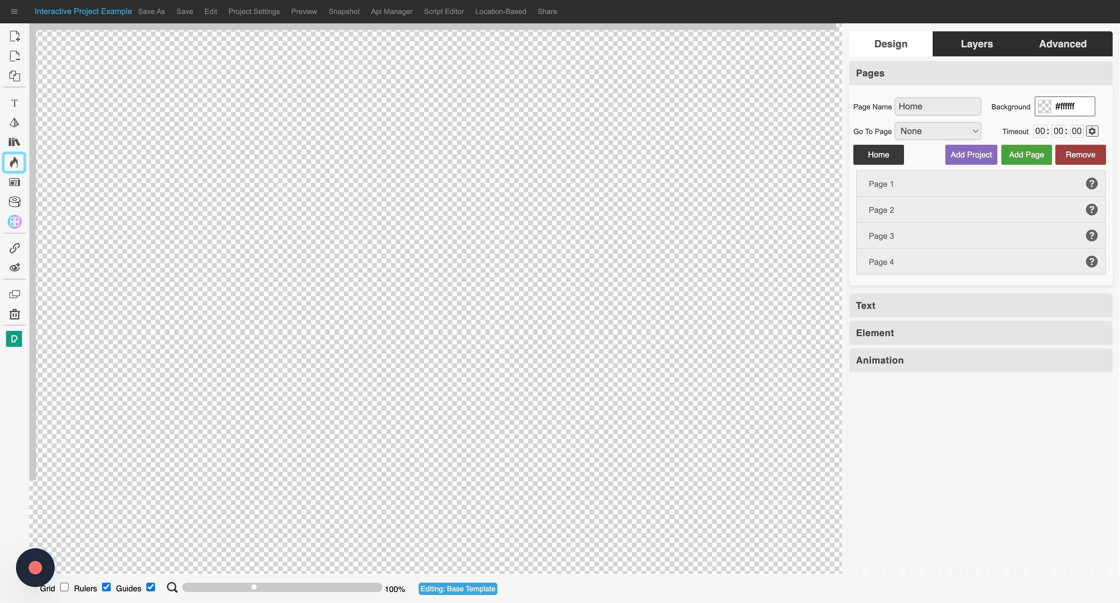
4. Click on "Add Page" to add Page 3.
Step-by-step guide on how to make the home page transparent
1. Click on the "Home" page to ensure that it's the page you are working with.

2. Click on the colour picker next to Background. A slider will appear.

3. Drag the slider all the way to the bottom. Doing this will make the home page transparent.

4. The canvas will change to a checkerboard, indicating that it is transparent. Click on the flame icon in the menu on the left to add a hotspot.
5. Click on the hotspot on the canvas to select it.

6. Click on "Element" in the panel on the right.

7. Click on the stretch to fill icon, to make the hotspot fullscreen.

Step-by-step guide on how to upload an image
1. Click on 'Page 1' in the menu panel on the right.

2. Click on the Media Library button in the panel on the left.

3. Click on 'Upload'. Navigate to the image that you want to upload. Once uploaded the image will be logged automatically as an XID image.

4. Click on the image to add it to Page 1 on the canvas.

5. Click on the image to highlight it.

6. Go to 'Element' in the panel on the right and click on the 'Stretch to Fill' tool to make the image full screen.

7. Click 'Save' to save your change.
