Qman CSR: Introduction
BackHow to log in
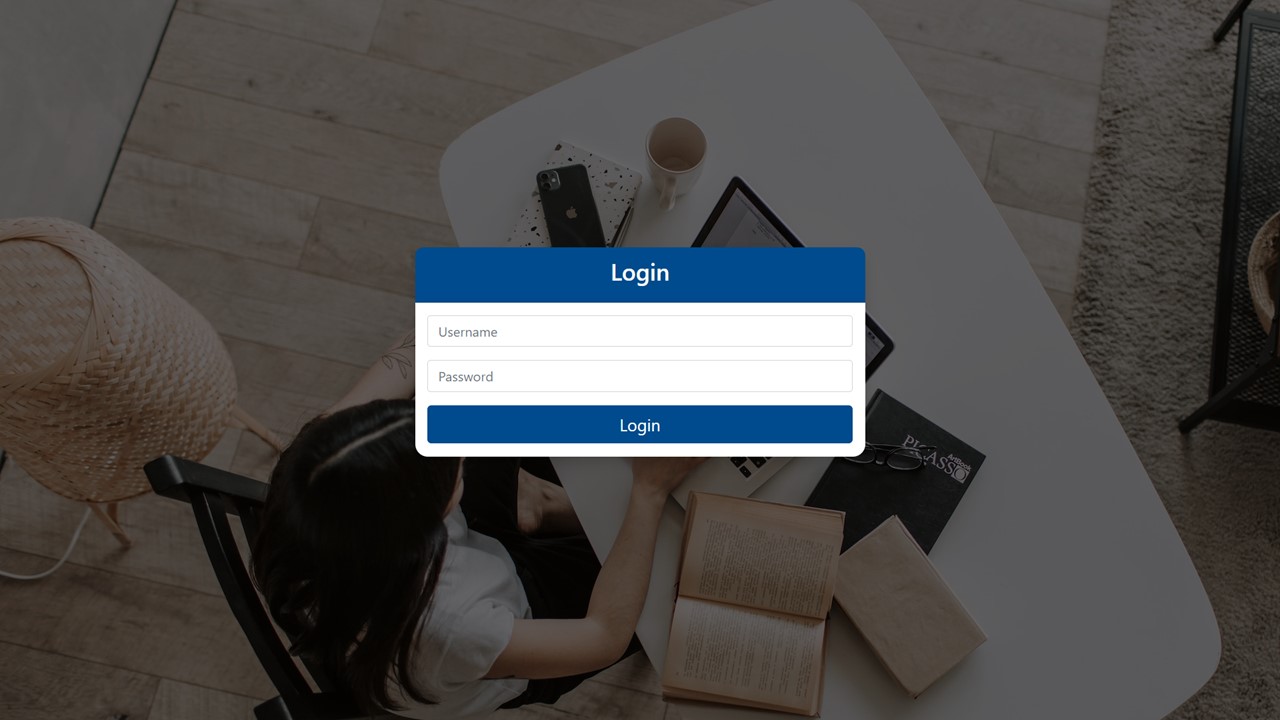
1. Datapost will provide a URL to access the Qman CSR. The Login page will come up.
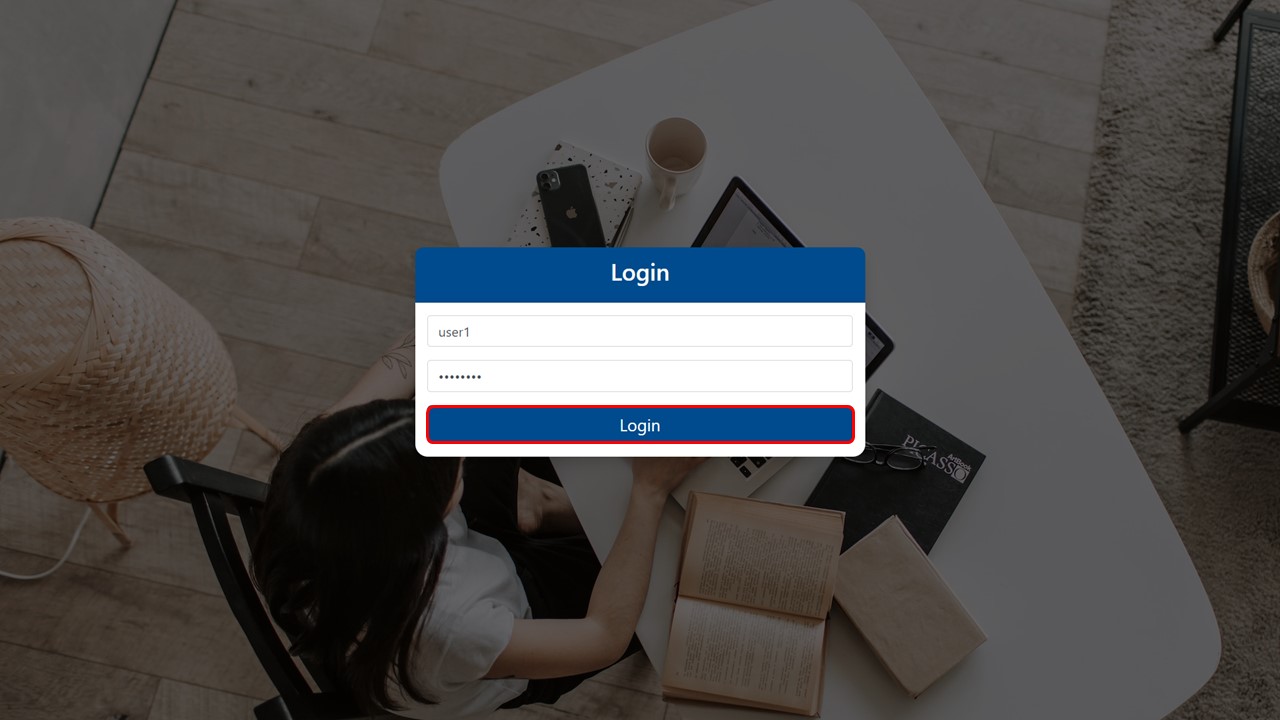
2. Enter your username & password, then click on the Login button. The Settings page will come up.
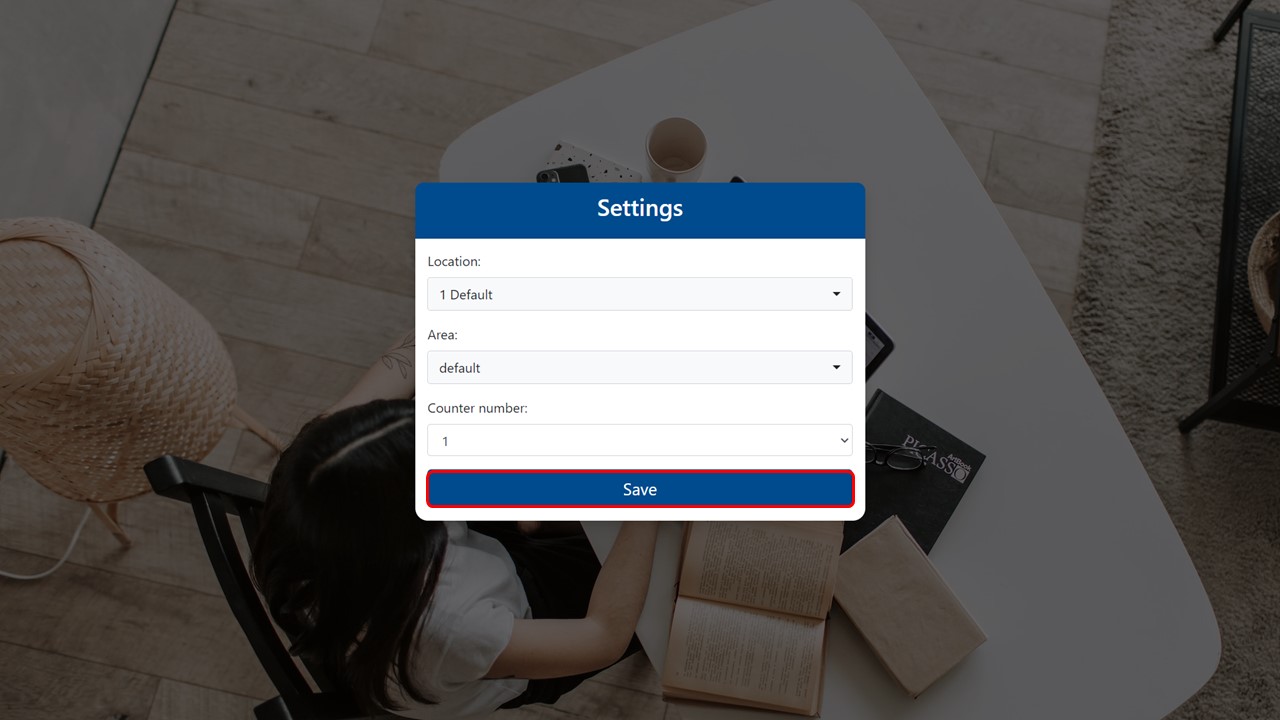
3. Select the relevant location, area & counter number from the drop-downs, then click on the Save button.
Location: the store or branch.
Area: a predefined section of the store or branch.
Counter number: the number of the counter that the user will be serving tickets from.
Qman CSR interface overview
Profile
This is the profile of the user that is logged in.
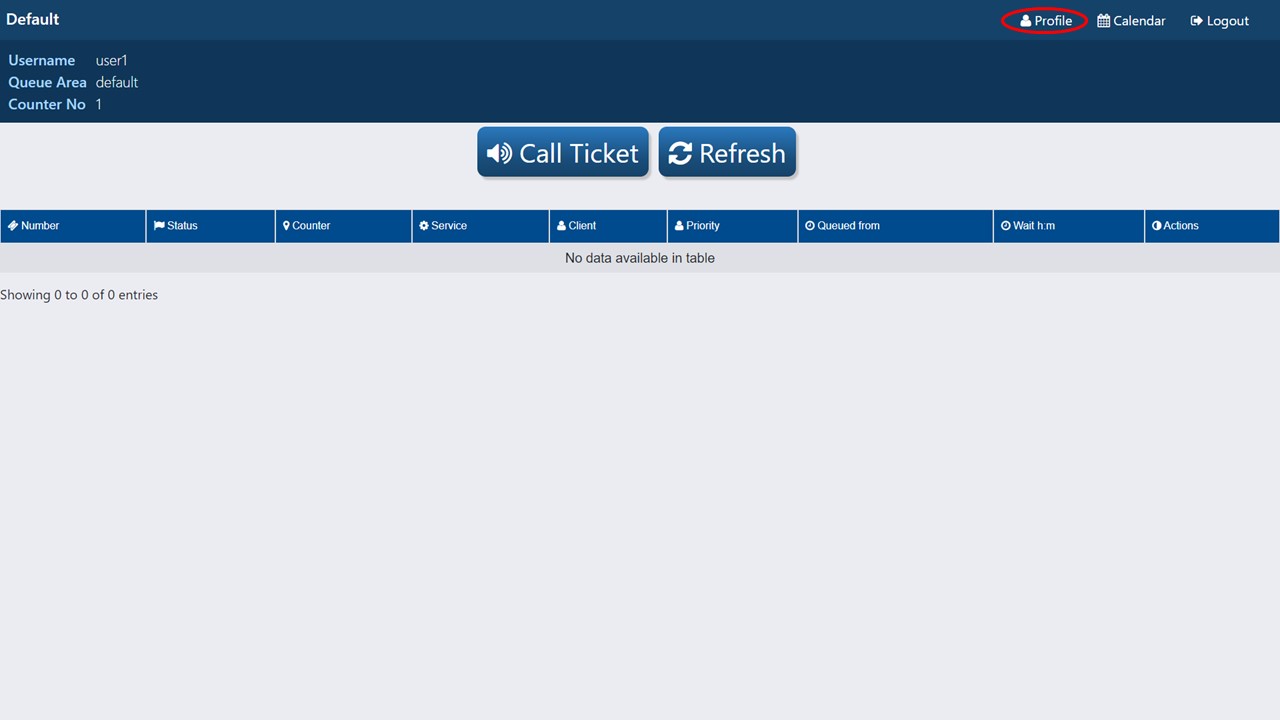
1. Click on Profile in the top right corner of the screen.
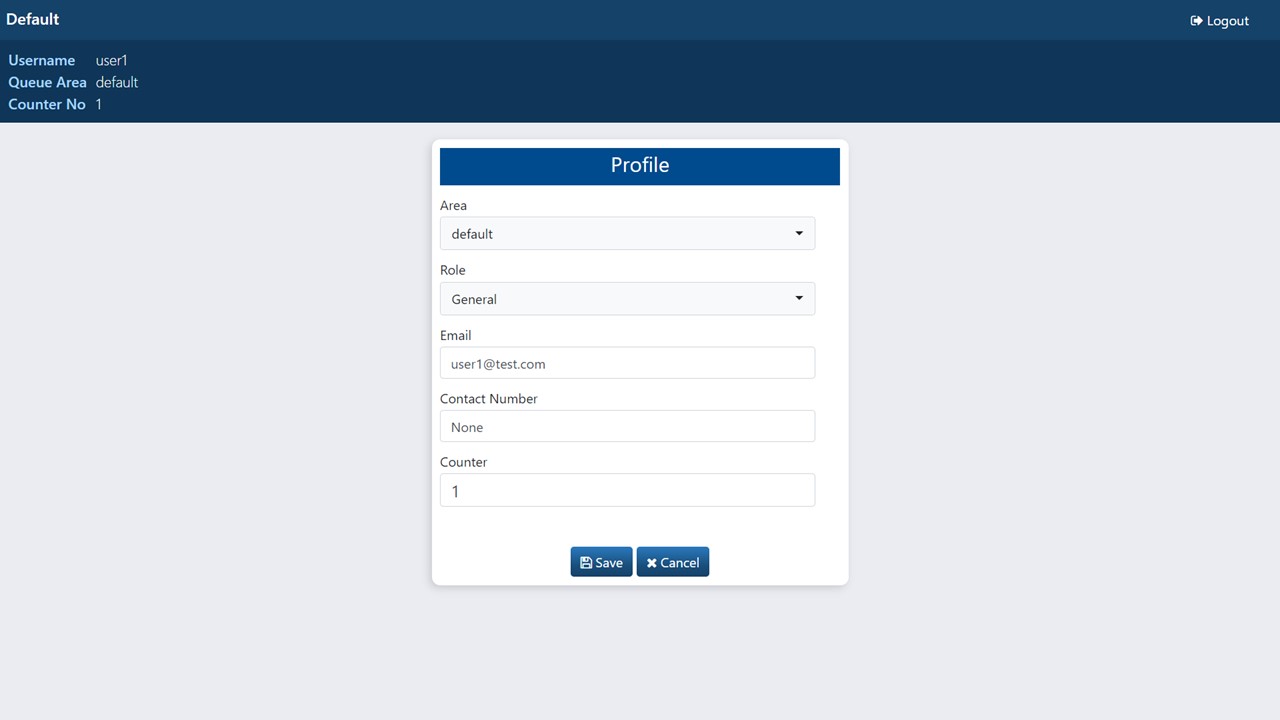
2. The profile window will appear with all the user’s details. The user can edit his/her details and click on Save.
Profile fields explained
Area
The predefined section of the branch or store, that the user that has logged in, will be serving tickets from.
Role
The role of the user. I.e. the services the user can provide to customers.
The user’s email address.
Contact Number
The user’s contact number.
Counter
The counter number the user will be serving tickets from.
Calendar
This is the bookings calendar.
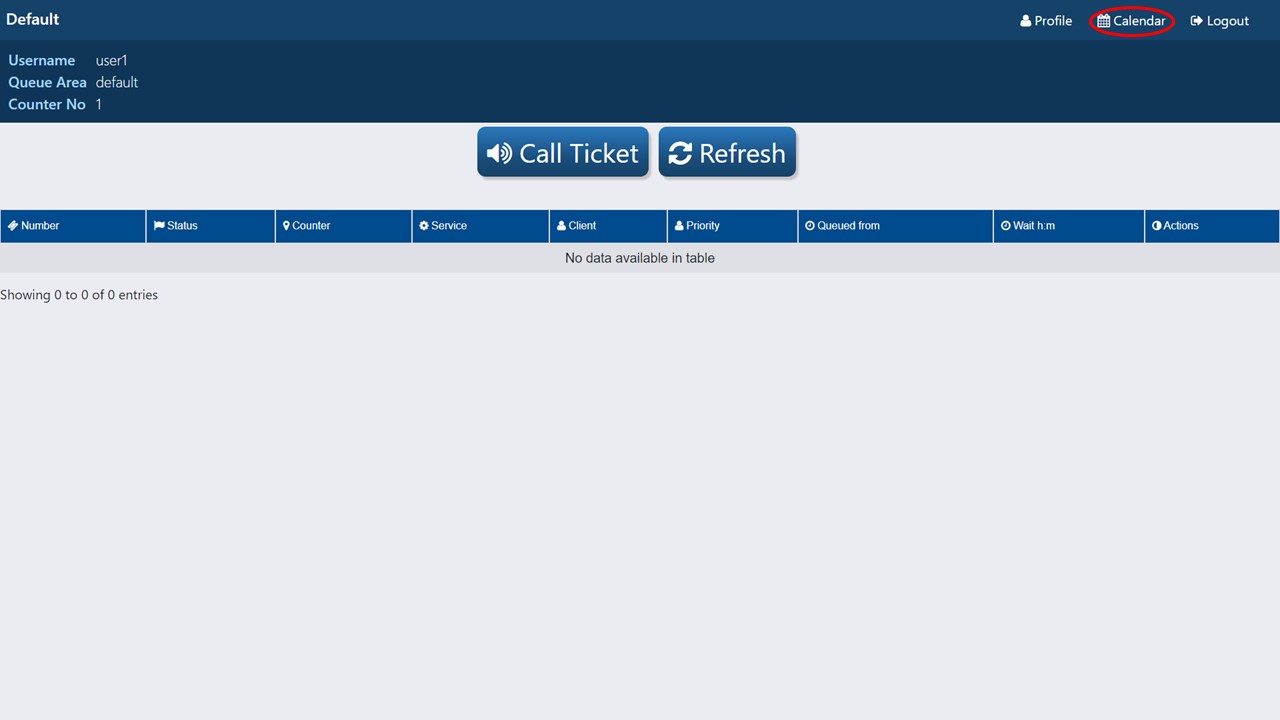
1. Click on Calendar in the top right corner of the screen.
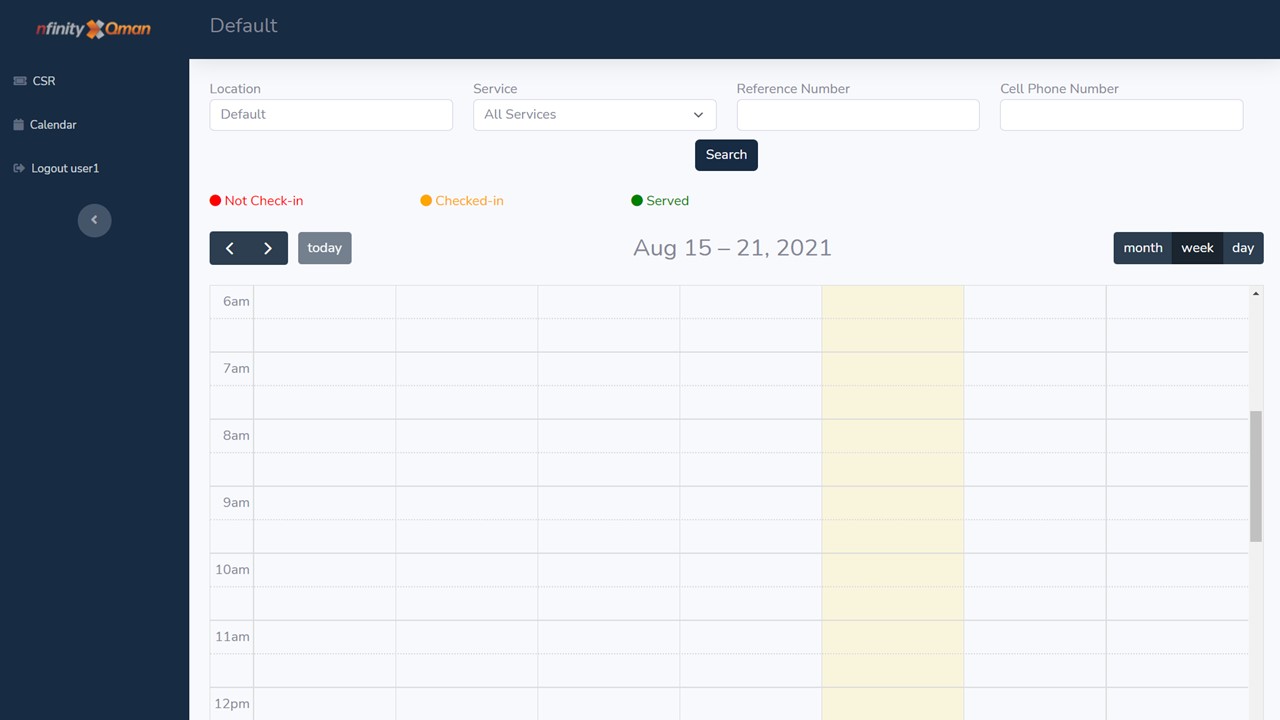
2. The bookings calendar will open.
Bookings can be searched by:
Location
The store or branch.
Service
The type of service required by the customer.
Reference Number
The booking reference number generated by the system when the booking was made.
Cell Phone Number
The customer’s cell phone number.
Bookings are colour coded as follows:
Not Checked-in – the customer has not arrived and checked in yet
Checked-in – the customer has arrived and checked in
Served – the customer has been served
Logout
This is where the user will go to log out of the csr.
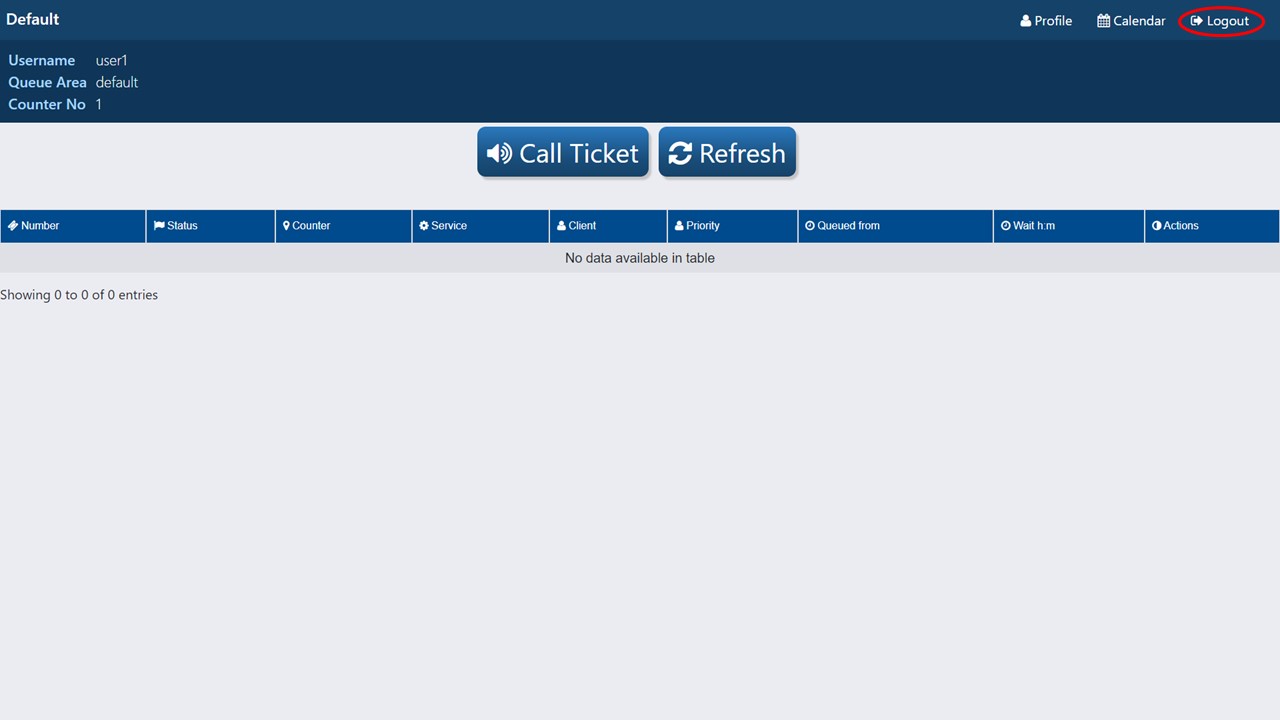
1. Click on Logout in the top right corner of the screen.
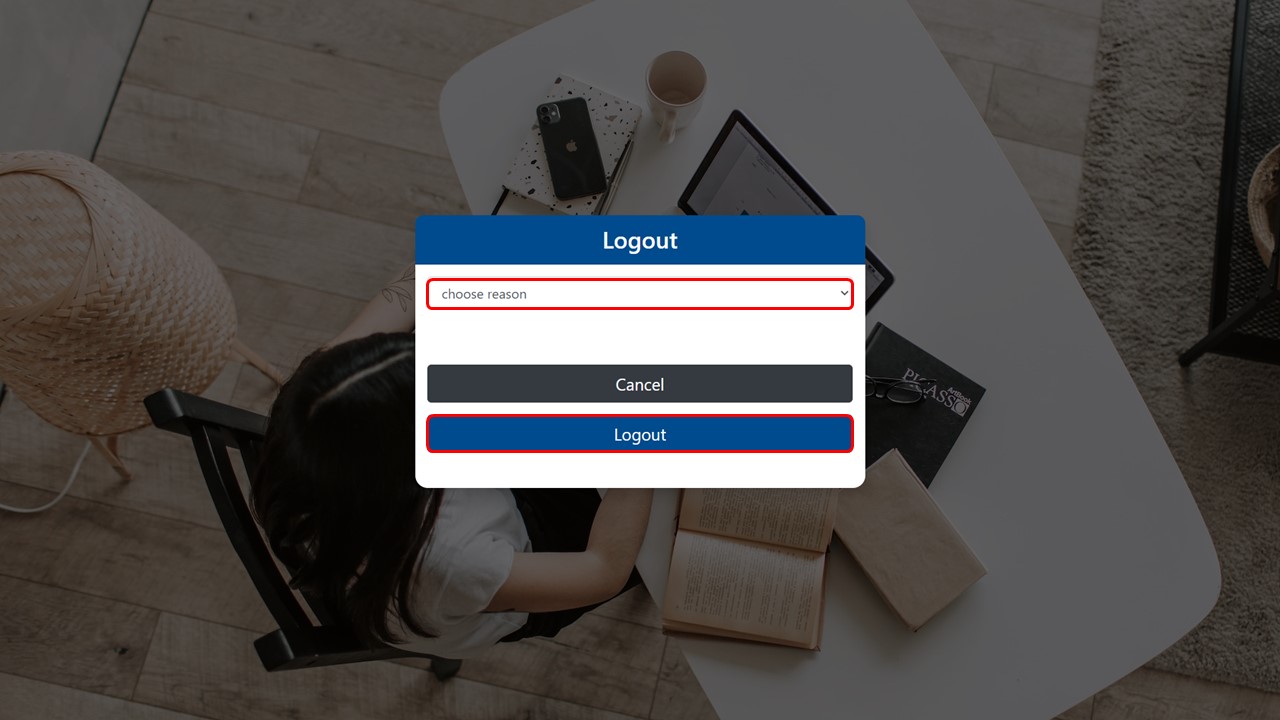
2. Select the relevant reason for logging out from the drop-down & click on the Logout button.
Reasons for logging out: Finished, Lunch, Tea break, Bathroom break, Smoke break, Sick, Closing & Duplicate login.
Ticket Dashboard
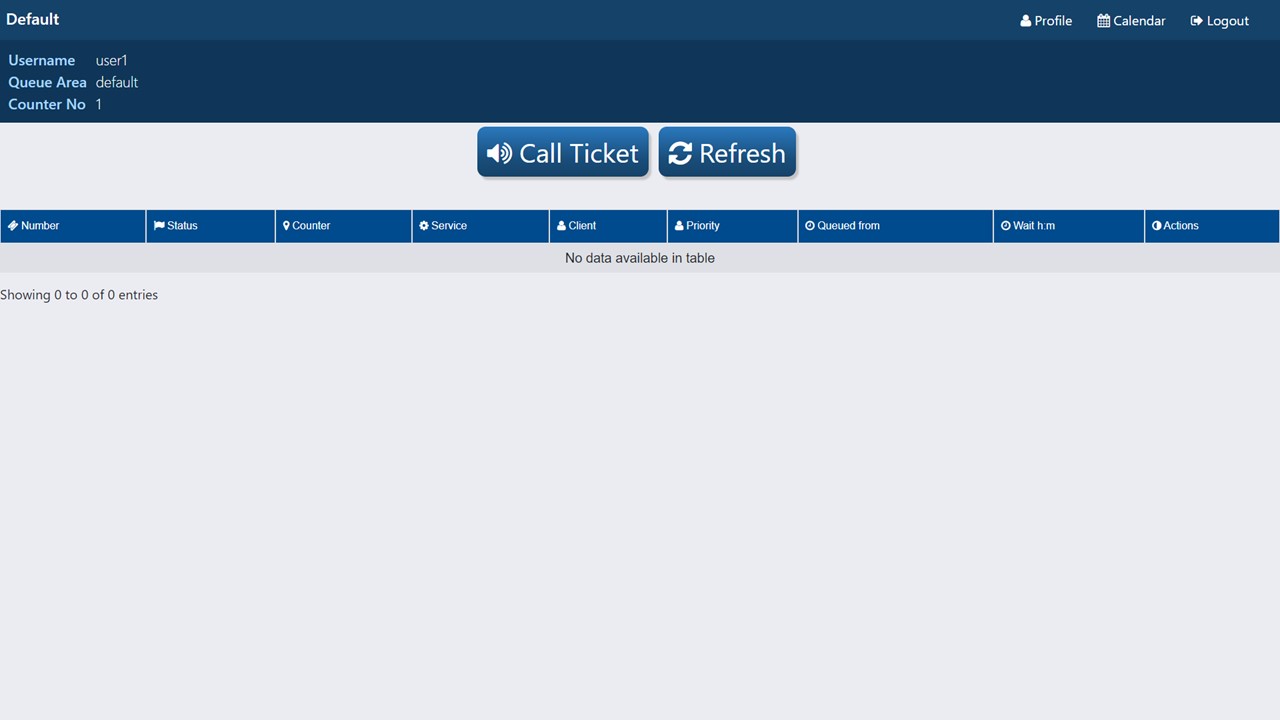
Ticket dashboard column headings explained
Number
The ticket number.
Status
The status of the ticket. I.e. queued, re-queued or pending.
Counter
The number of the counter at which the ticket will be served, based on the service required and the user(s) that can fulfill that specific role.
Service
The type of service required to action the ticket.
Client
Name of the client that generated the ticket.
Priority
The priority of the ticket, which can be defined by the organization providing the service.
Queued from
The date and time that the ticket was generated.
Wait h:m
The wait time, is the time from when the customer generates a ticket, up until the moment he/she is served. The time is formatted in hours and minutes. The colour coding of the wait time indicates the thresholds put in place to manage the level of customer service.
Thresholds
Green indicates an acceptable wait time.
Amber indicates a wait time that is still acceptable, but is approaching the red threshold.
Red indicates an unacceptable wait time. Action is required to be taken by a manager to improve the customer’s experience.
Actions
The current action being taken to resolve the ticket.
Step-by-step guide on how to serve a ticket
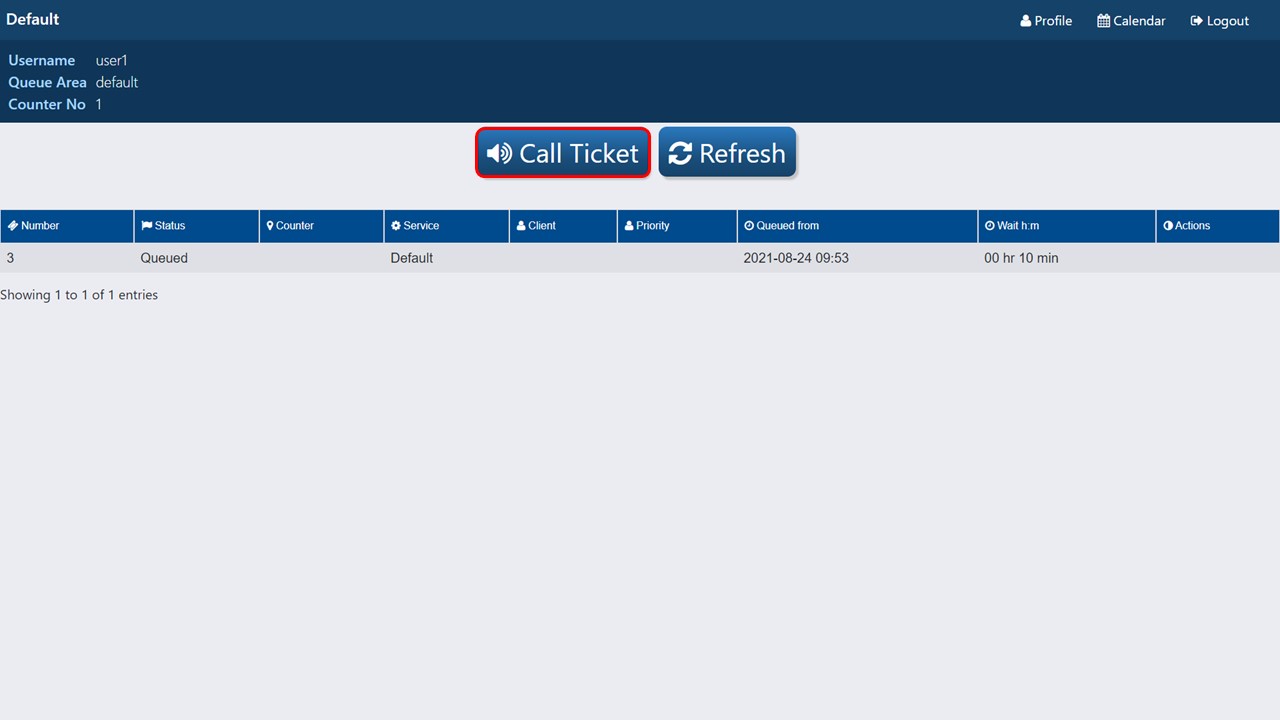
1. Click on the Call Ticket button. The ticket number will appear on the Call Screen and the voice will call the customer to the relevant counter.
Now Calling
In this view you have the following options:

Serve: the user will click on the serve button, as soon as the customer reaches the counter.
Call Again: the user will click on the Call Again button to call the customer again. The ticket number will appear on the call screen and the voice will call the customer to the relevant counter. On the fourth call the ticket will be re-queued. The ticket will move three positions back in the queue.
Re-queue: clicking on the Re-queue button will move the ticket back into the queue.
No Show: the user will click on the No Show button, when a customer has been called multiple times, but still doesn’t show up at the counter. This will also close the ticket.
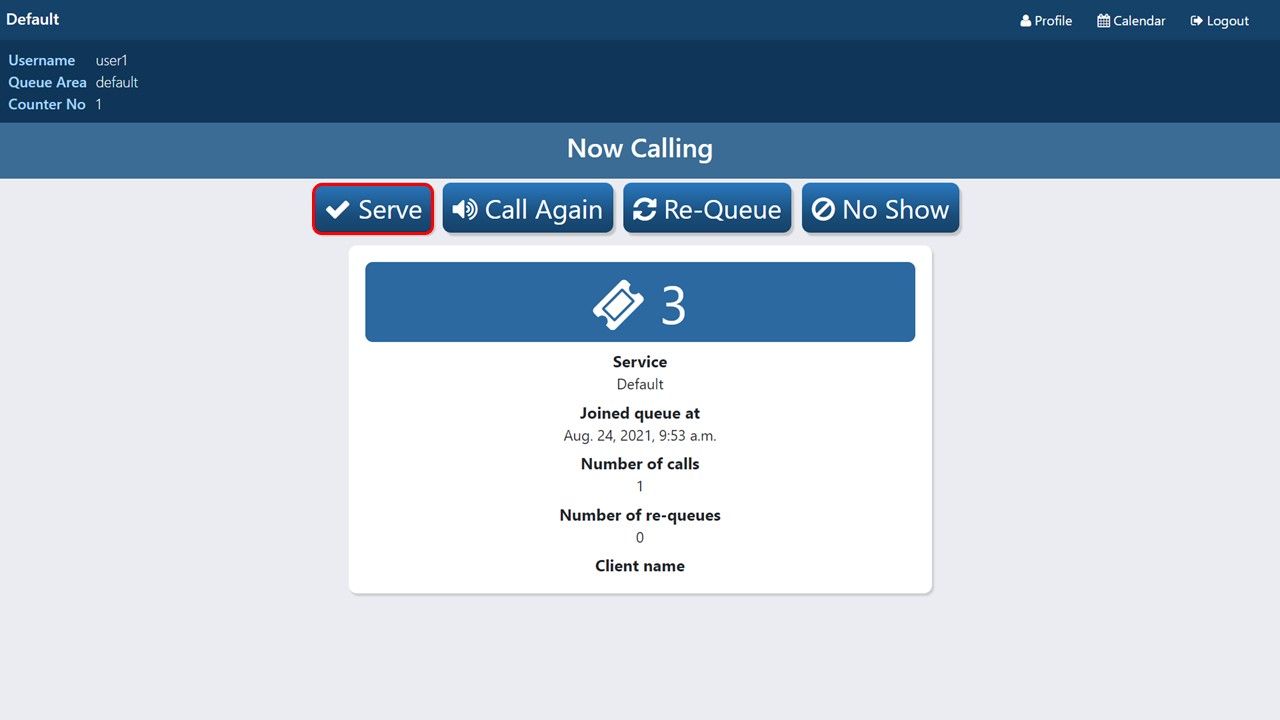
2. Click on the Serve button, as soon as the customer reaches the counter.
Now Serving

Now Serving column headings explained
Service
This is the service required to action the ticket being served.
User
This is the username of the person serving the ticket.
Status
The status at this point of the journey will be Serving.
Waited
This refers to the time the customer waited before being called.
Started
This is the date and time at which the consultant started serving the customer.
End/Dur
This is a timer that ticks over until the ticket is closed. I.e. is the time it takes for the customer to be served.
In this view you have the following options:

Transfer: transfer the ticket to another consultant, if a different service is needed to resolve the ticket.
Close Ticket: clicking on the Close Ticket button, will close the ticket and take the user back to the ticket dashboard to call the next ticket in line.
Suspend: clicking on the Suspend button will move the customer back into the queue. An example would be when a customer requires an identity document, that he/she has left in the car, for the ticket to be resolved. The consultant can suspend the ticket and pick it up again, as soon as the customer has returned to the store/branch, without the customer being moved back in the queue.
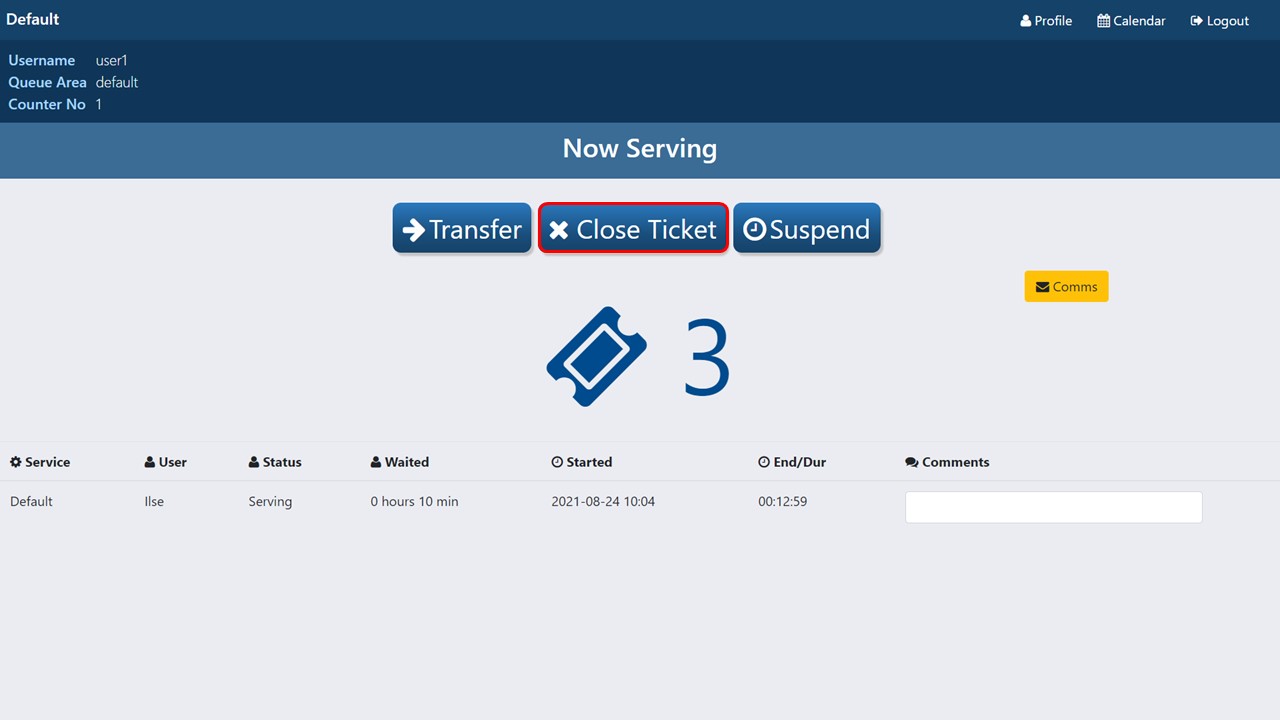
3. Click on the Close button, once you have finished serving the customer.
Step-by-step guide on how to pick up a ticket that has been suspended
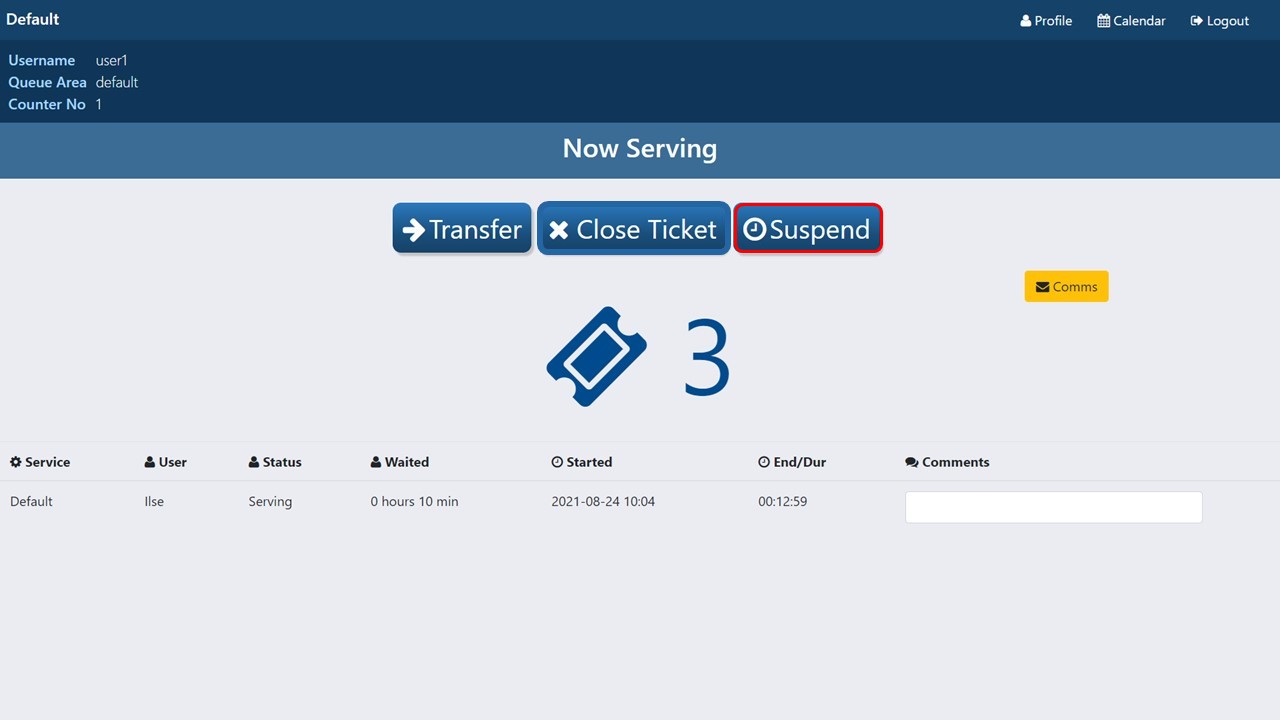
1. Once the ticket has been called (as per the above process), the consultant has the option to suspend it instead of serving the customer & closing the ticket.
I.e. suspending a ticket is putting it back in the queue in a frozen state, to be picked up again at a later stage.
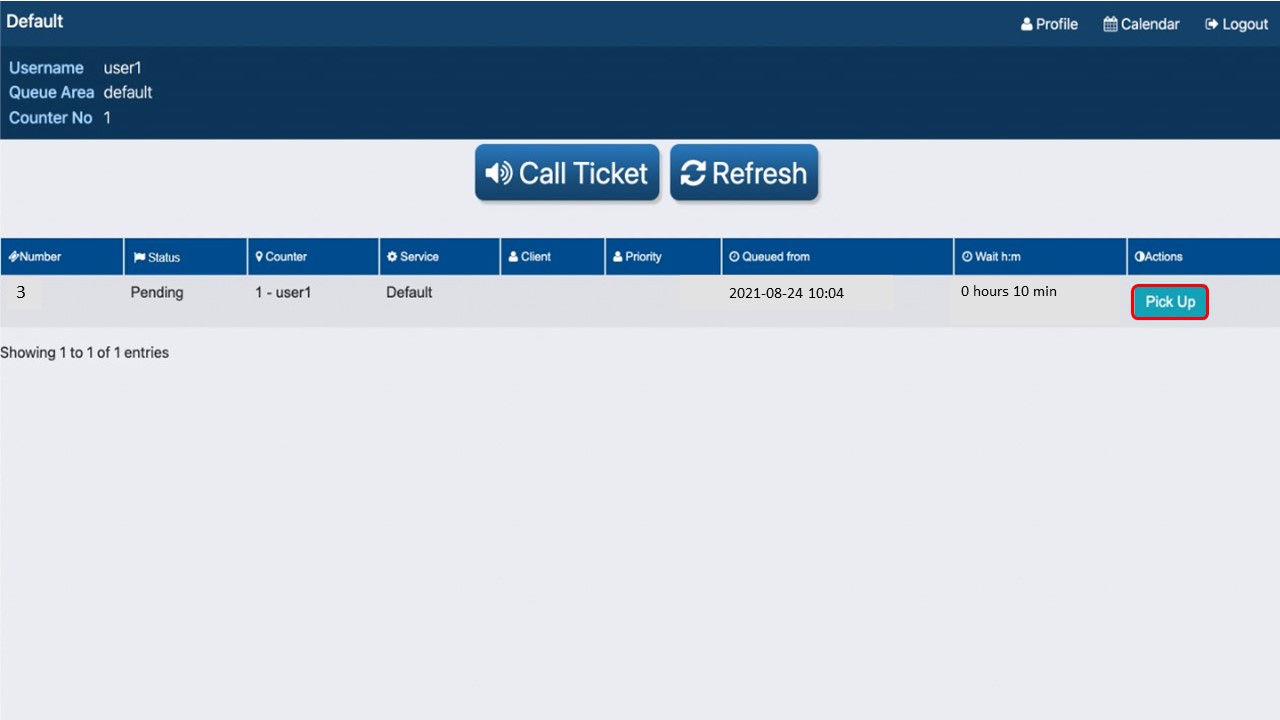
2. Once the customer is ready to be served, the consultant can click on the Pick Up button.
