Locations
BackThe location can only be created, once the following has been created:
-
Location receipt template
-
Multi-store template (it can be an empty template design if you don’t intend to use the multi-store feature)
-
Payment set-up. Please contact the Datapost support team for new payment integrations by e-mailing support@datapost.freshdesk.com
LOCATION RECEIPT/SLIP TEMPLATE
1. Navigate to "Location Receipt/Slip" under "Location Templates" in the sidebar.

2. Click " Add template"

3. Enter a name for the template and click "Save"

4. Click " Edit Layout Design" on your receipt template.

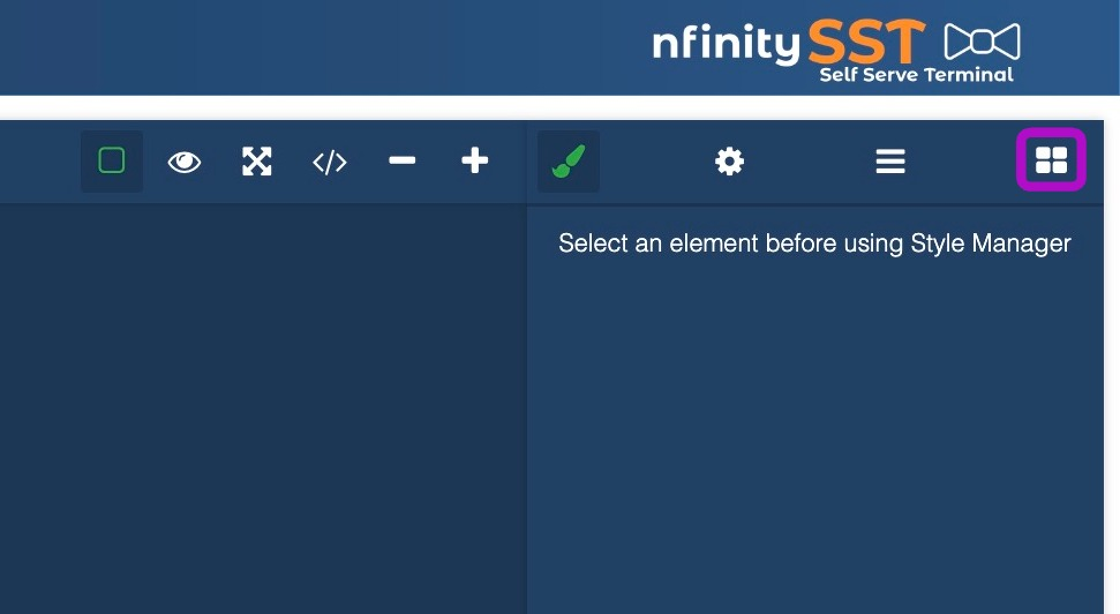
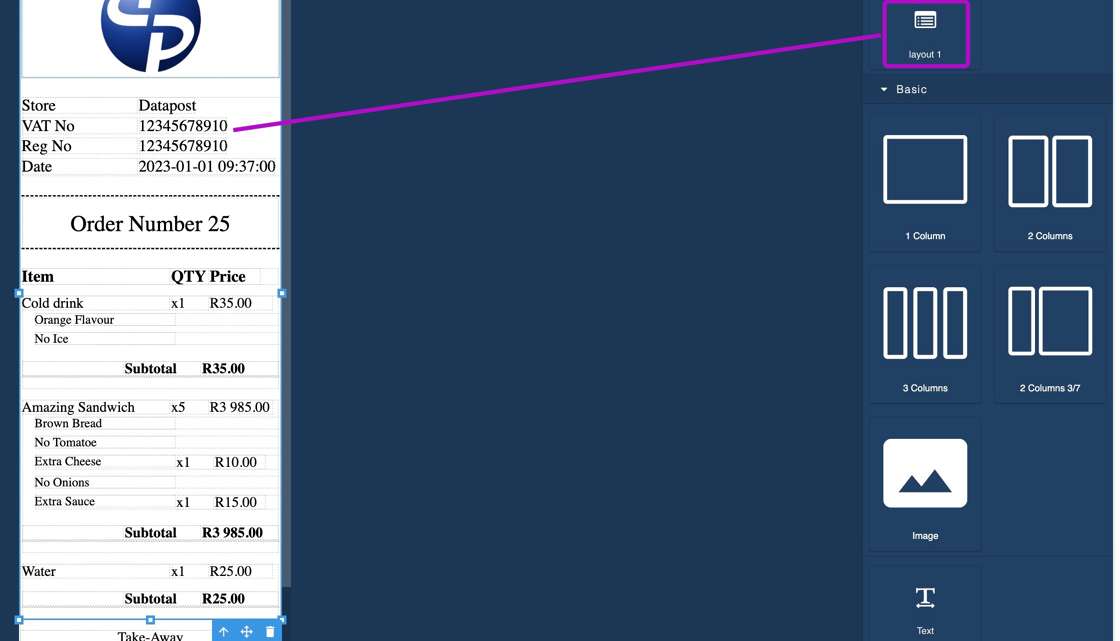
5. Click on the layout icon to get elements related to this template

6. Click and drag one of the layouts from under "Receipt Layouts" onto the blank canvas.

7. Click "Save".

CREATE A LOCATION
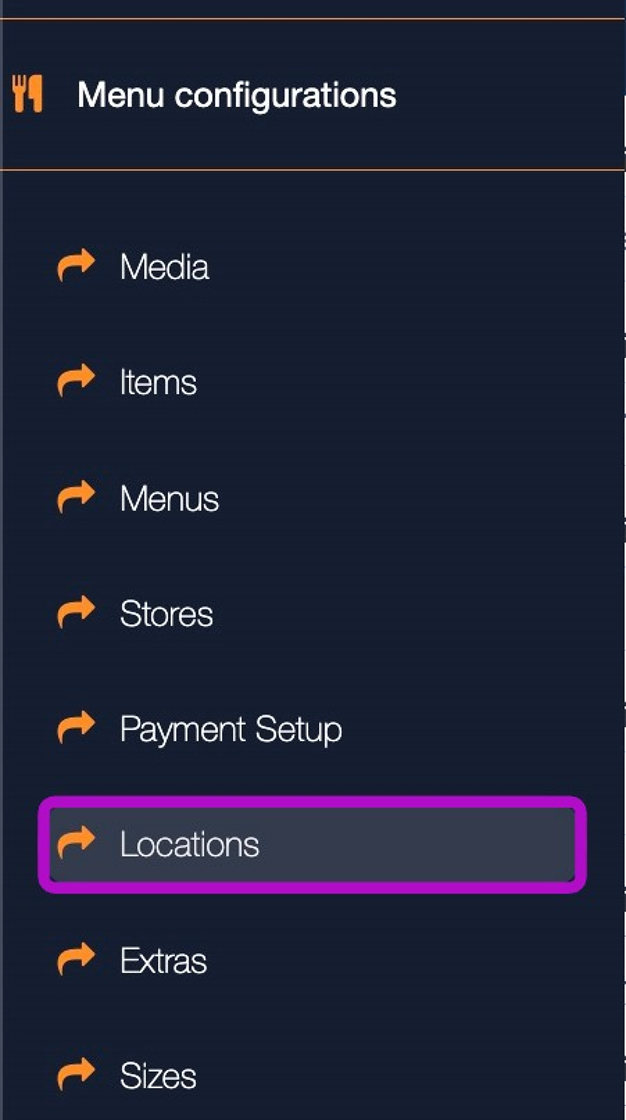
8. Navigate to "Locations" under "Menu configurations" in the sidebar.

9. Click "+ Add location" or click "Edit" on an existing item.

10. Fill out all relevant fields in the form (See below tips for more info on each option)

Tip: - "Location name": location name.
- "Location code": location code such as a branch code, cost centre code, etc.
- "Location address": address where the SST is physically located.
- "Locations had printer template/size": The template/size used for the SST printer that prints the customer receipts. The number in the template name represents the width of the receipt paper in mm.
- "Location had receipt template": Select the Receipt/Slip Template created previously.
- "Location has stores": Select one or more stores to be displayed on the SST.
- "Location has multi-store template": Select the template for your Multi-Store Template. See "SST - Multi-Store Guide" for more details.
- "Location has checkout options": select the checkout options for the location.
- "Payment setup": Select an existing payment setup. Please contact the Datapost support team for new payment integrations (support@datapost.freshdesk.com)
- "Location has currency": Select a currency or add your own under the Currencies configuration page.
11. Click " Save"

