Menu
BackBelow is an example of a Menu. This page is created with the "Store Menu" template.

CREATE MENU
1. Navigate to "Menus" under "Menu configurations" in the sidebar

2. Click "+ Add menu" or click "Edit" on an existing item.

3. Fill out all relevant fields in the form (See below tips for more info on each option)

Tip: - "Menu identifier": When adding menus to a kiosk, the "Menu identifier" entered here will be displayed in the dropdown to select the items to be added to the menu. Use unique names that will not be confusing to identify amongst hundreds of menus shared across stores/locations that you manage.
- "Menu name": This is the name that will be displayed on the SST kiosk.
- "Menu sort order": This value defines the order in which the menu will be displayed on the SST. The smaller the value, the closer the menu will be to the beginning of the screen. The bigger the value, the further the menu moves to the end of the screen.
- "Menu image": select an image to be displayed for this menu. Images can be uploaded under the "Media" configuration page.
4. Click "Save"

STORE MENU TEMPLATE
5. Navigate to "Store Menus" under "Store Templates" in the sidebar

6. Click "+ Add template"

7. Enter a template name and click "Save"

8. Click "Edit Layout Design" on the template you created

9. Select your store

10. Click "OK"

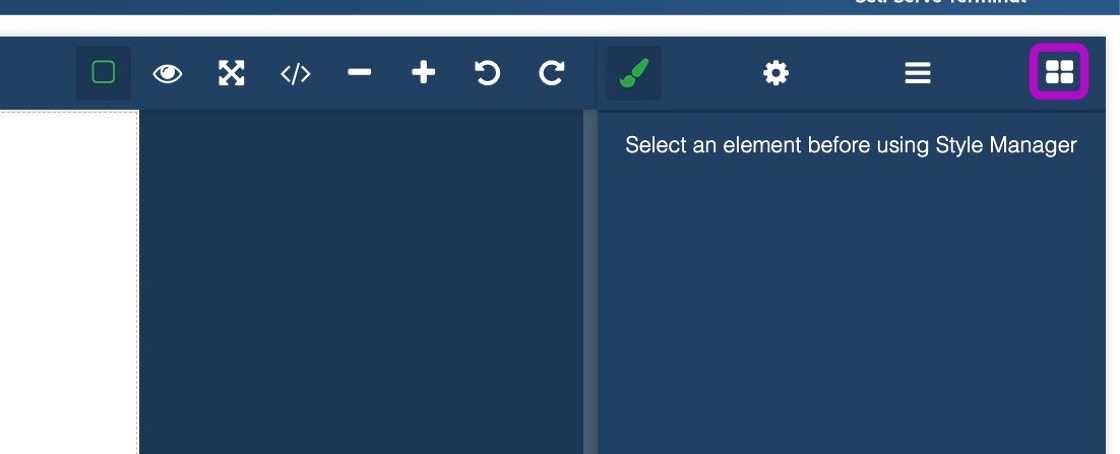
11. Click on the layout icon to get elements related to this template
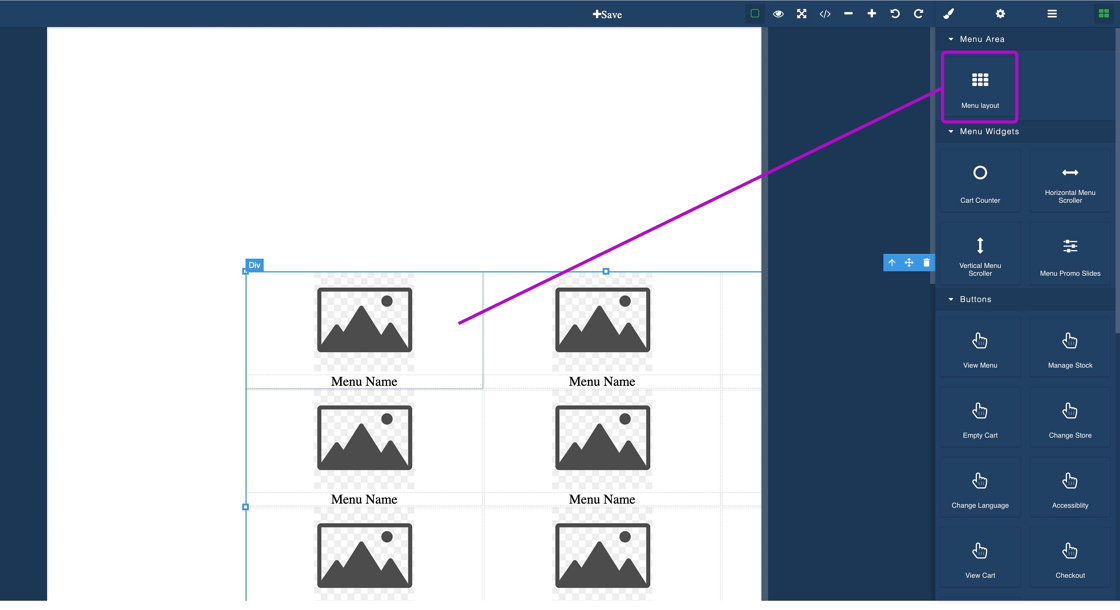
12. Click and drag one of the layouts from under "Menu Layouts" onto the blank canvas.
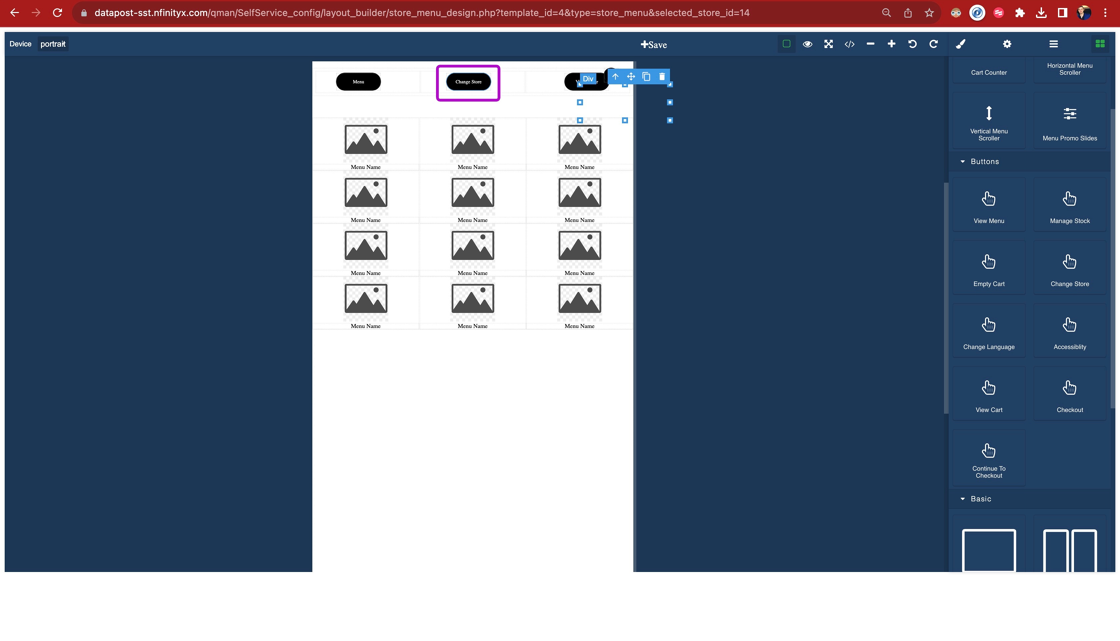
13. Add 3 columns to act as a container to place out buttons in.

14. Position the elements correctly on the canvas as desired
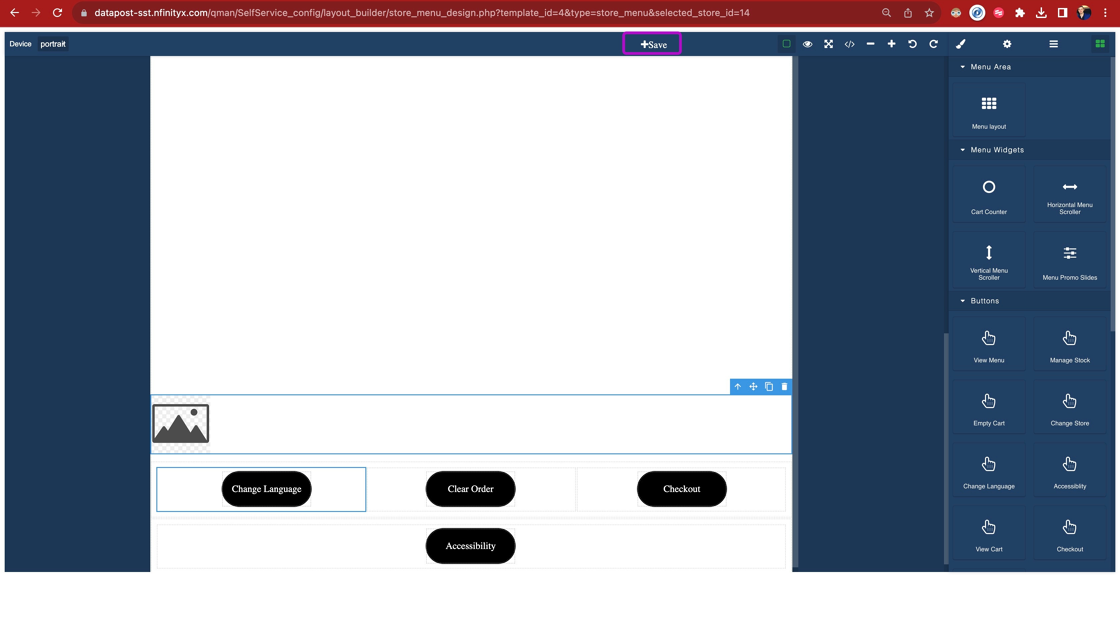
15. Add some buttons by clicking and dragging buttons found under the "Buttons" section. Get creative and adjust the properties for each by selecting the element, then clicking on the paint brush to edit its properties.
Tip: You can add any element found under the layout tab and further customise it by adjusting its properties
16. Click "Save"
Tip: MENU WIDGETS:
- Cart Counter: this element displays the number of items in the cart.
- Horizontal Menu Scroller: An element that displays all the menu items scrolling horizontally.
- Vertical Menu Scroller: An element that displays all the menu items scrolling vertically.
- Menu Promo Slides: An element that displays promo slides. Promo slides can be created in the Store Promo Slides configuration page

Tip: BUTTONS:
- View Menu: a button to go back to the Store Menus page.
- Manage Stock: a button that allows a supervisor to edit the stock availability of items.
- Empty Cart: a button that will empty all the items in the cart.
- Change Store: a button that will take the customer back to the multi-store landing page.
- Change Language: a button that will take the customer to the multi-language page.
- Accessibility: When clicked, the SST window gets pushed down filling the top half of the window with a Store Banner (this can be created on the Store Banner Configuration Page). This allows people with certain disabilities accessibility to all the features of the SST.
- View Cart: This button shows the contents of the cart (Store Cart Template) when clicked.
- Checkout: takes the customer to the suggestions page if active.
- Continue To Checkout: takes the customer straight to the checkout options page.

Tip: BASIC:
- 1 Column: a container to wrap other elements in or apply separate styles to.
- 2 Columns: a container to wrap other elements in or apply separate styles to, separated into 2 columns.
- 3 Columns: a container to wrap other elements in or apply separate styles to, separated into 3 columns.
- 2 Columns 3/7: a container to wrap other elements in or apply separate styles to, separated by a small and big column.
- Image: Upload an image to be displayed on the menu page.
- Text: Add some custom text to the menu page.

ADD MENU TO STORE CONFIGURATION
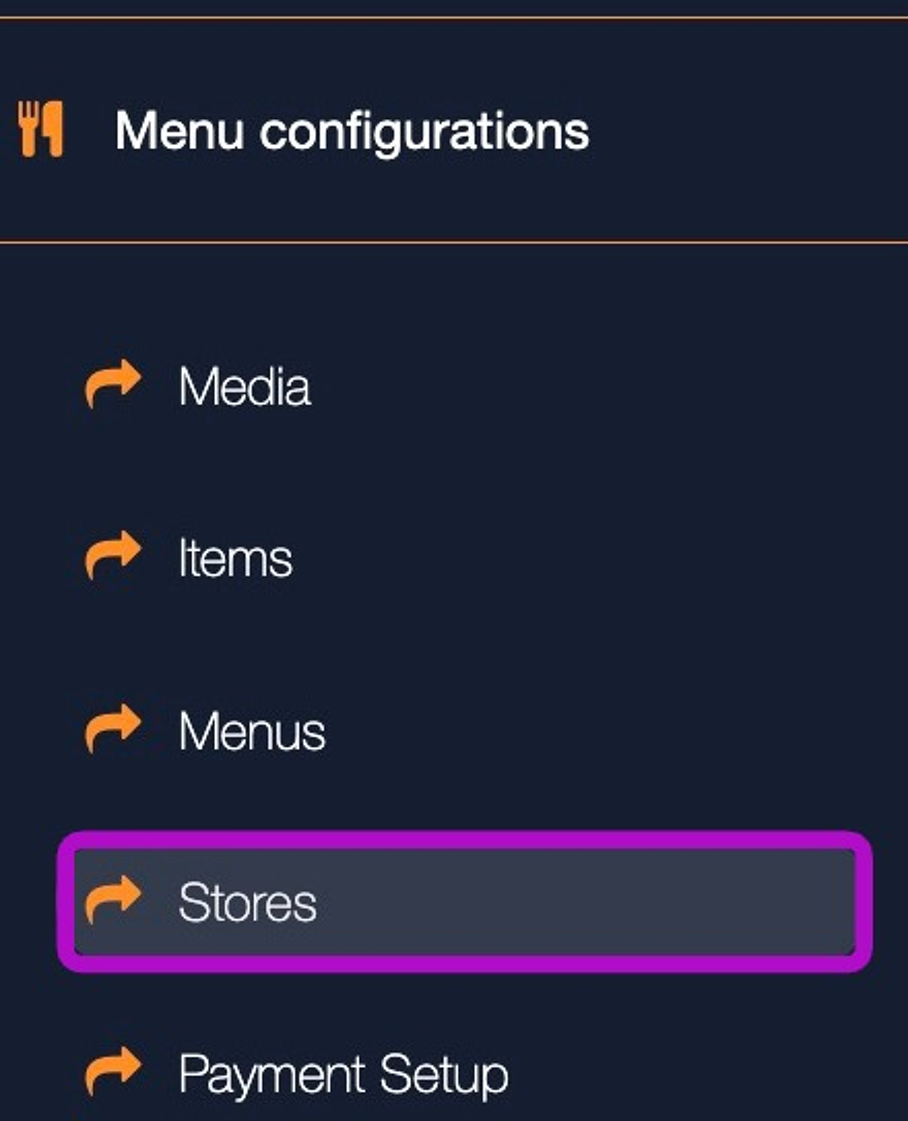
17. Navigate to "Stores" under "Menu configurations"
18. Click edit (the button with the pencil) on the relevant menu.

19. Add the menu(s) to the "Store has menu(s)" option

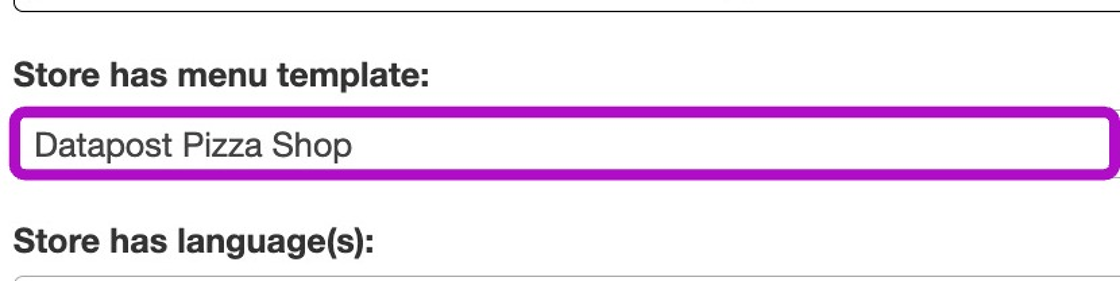
20. Select the Store Menu Template under the "Store has menu template" option
21. Click "Save"
