Multi-store
BackThis guide goes over all the steps to create a basic Multi-Store Page. This functionality allows the SST to service multiple stores from a single device.
Tip: Below is an example of a basic Multi-Store page on an SST.

CREATE MULTIPLE STORES
1. Ensure you have at least two or more stores created. In this example I have "Datapost Pizza Shop" and "Datapost Coffee Shop". See "SST - Store Guide" for detailed steps on creating a store.

MULTI-STORE TEMPLATE DESIGN
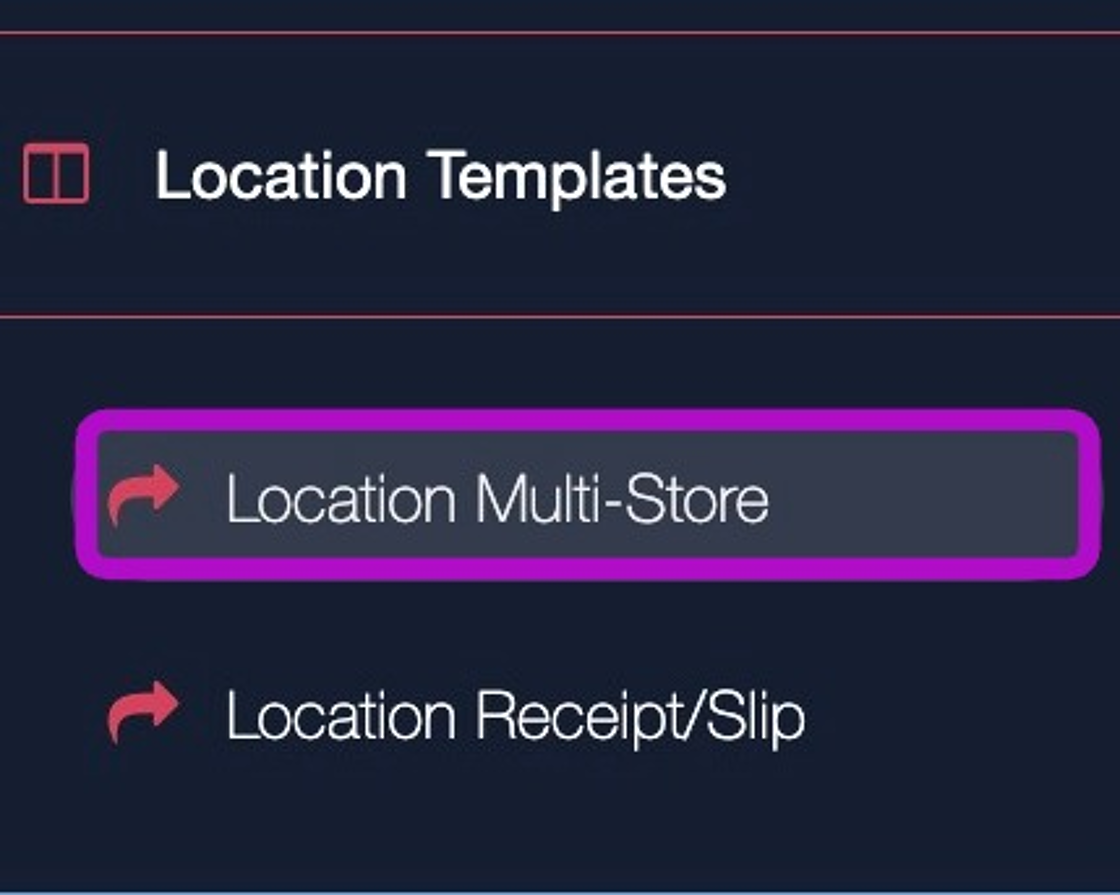
2. Navigate to "Location Multi-Store" under "Location Templates" in the sidebar.
3. Click "+ Add template"

4. Enter a unique name for the template and click "Save".

5. Click " Edit Layout Design" on the template.

6. Click on the layout icon to get elements related to this template

7. Under the "Stores" tab you will find elements related to the available stores. Click and drag the stores you want onto the canvas.
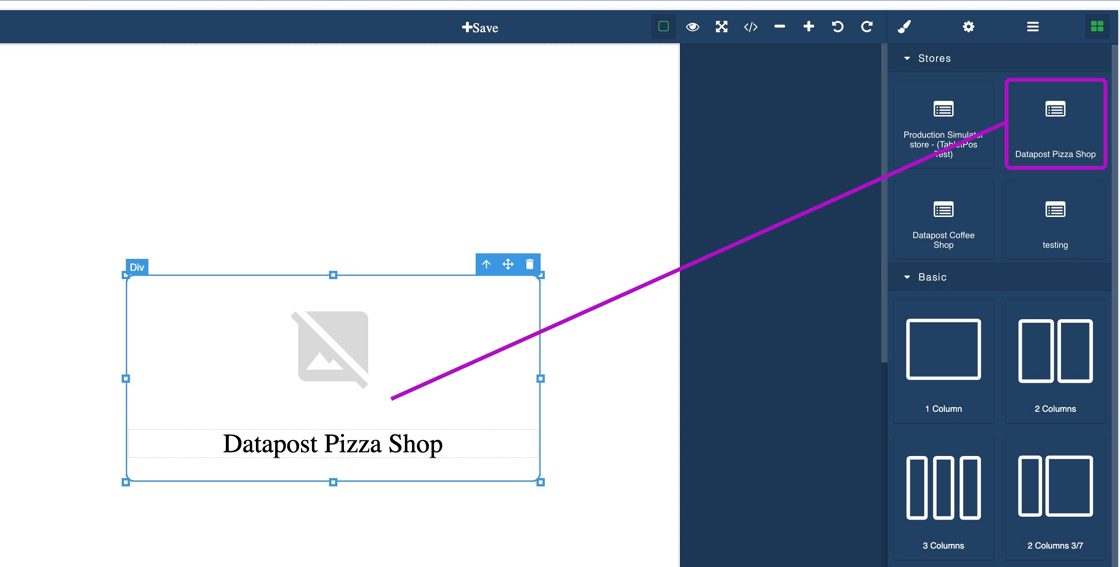
8. Repeat step 7 for all the stores you want to add to the template.

ADD STORES AND MULTI-STORE TEMPLATE TO LOCATION CONFIGURATION
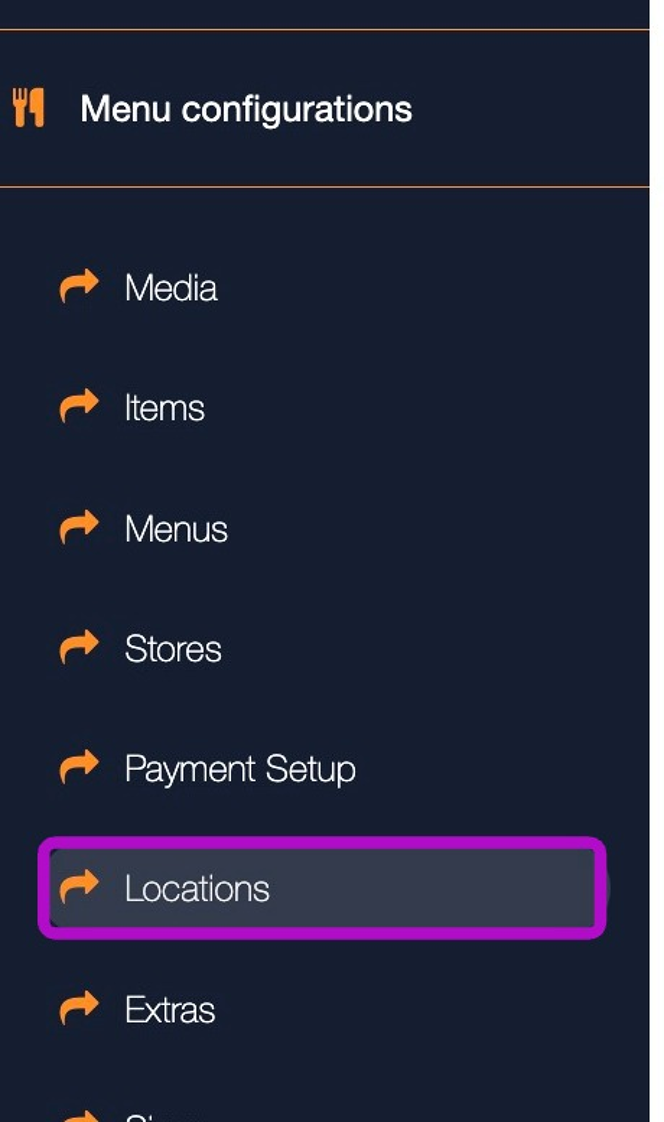
9. Navigate to "Locations" under "Menu configurations" in the sidebar.
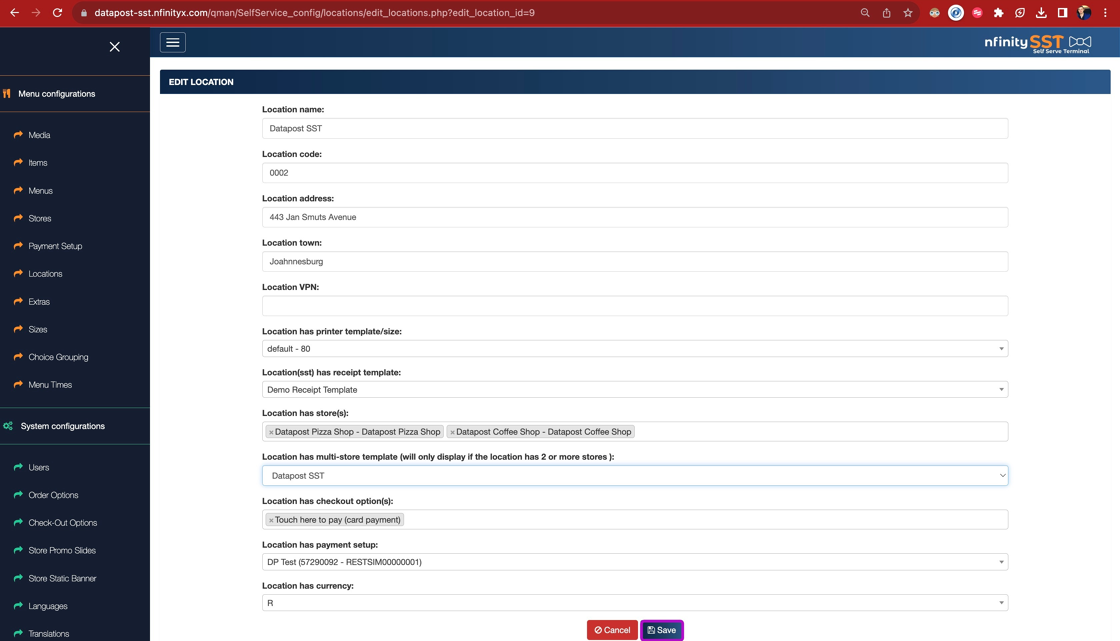
10. Click "Edit" on the relevant Location.

11. Add the Stores to the "Location has store(s)" dropdown.

12. Select the template under "Location has multi-store template".

Tip: The template will not be displayed on the SST unless these are two or more stores configured in the location for that location.
13. Click " Save"
FURTHER CUSTOMISATIONS (OPTIONAL)
14. Add some spacing to the top and bottom of the picture. First click on the picture and edit the "Margin" as per below:

Tip: We added a margin of 10px to the top and bottom of the picture which adds space to the top and bottom of the picture.
Tip:
Take note of the classes selected under the "Classes" section. This will ensure you are editing the properties of the correct element.
15. Make the font better by matching the below properties

Tip: We made the following changes:
Font family: Comic Sans MS
Font Size: 3em
Font weight: bold
Tip:
Take note of the classes selected under the "Classes" section. This will ensure you are editing the properties of the correct element.
16. Add a thicker border to the box containing the store. First click on the box and then match the properties below:

Tip: We made the following changes:
Border:
Width: 8px
Style: solid
Color: black
Tip:
Take note of the classes selected under the "Classes" section. This will ensure you are editing the properties of the correct element.
17. Add a background by clicking on an open area on the canvas to edit the properties of the body. I added a picture as the background and made it fit to the page with the below properties:

Tip: Note the empty classes as this was done on the main body.
18. Add some welcome text to fill the space. Click and drag a text element from the layout menu and enter some custom text. I adjusted the properties of mine as per below:

IMPROVED OUTCOME
19.
