Stores
BackBefore you can create a store, the following has to have been created:
- Store Suggestive/Upselling Template (can create a blank design if you do not intend to use the suggestive/upselling feature)
- Store Menu Template
- Multi-Store Template (it can be an empty template design if you do not intend to use the multi-store feature)
- Store Order Options Template (will only display if the store has 2 or more options)
- Store Item Template
- Store Single Item Template
- Store Cart Template
- Store Checkout Options Template
- Store Error Feedback Template
- Store Success Feedback Template
- Store Loading Feedback Template
- Store Confirm Feedback Template
STORE SUGGESTIVE/UPSELLING TEMPLATE
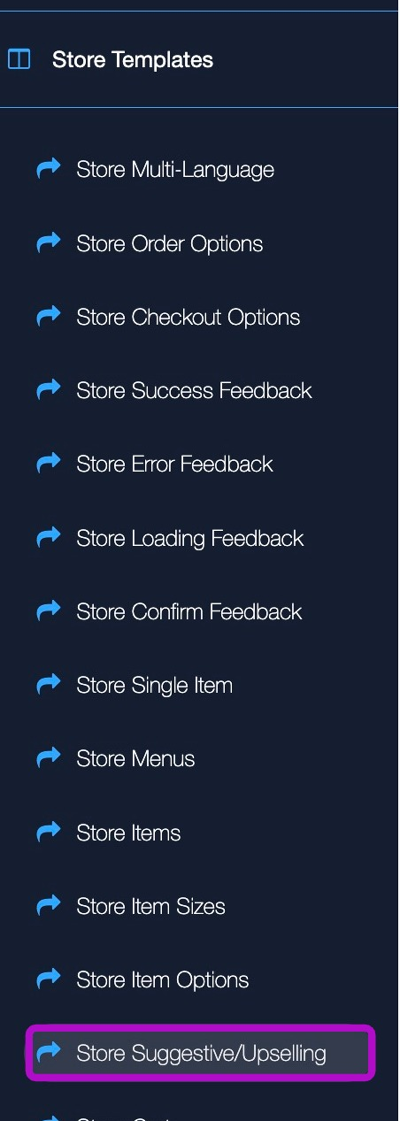
1. Navigate to "Store Suggestive/Upselling" under "Store Templates" in the sidebar.
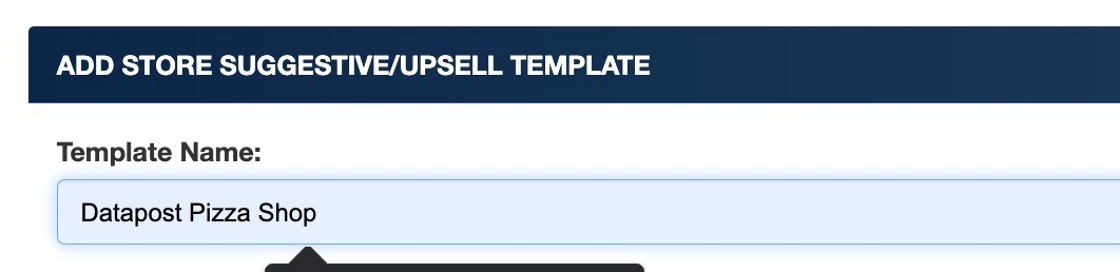
2. Click "+ Add Template"

3. Enter a unique name for the template.
4. Click "Save"

Tip: Refer to the "SST - SUGGESTIVE/UPSELL GUIDE" for a detailed guide on the Suggestive/Upselling design template.
STORE MENU TEMPLATE
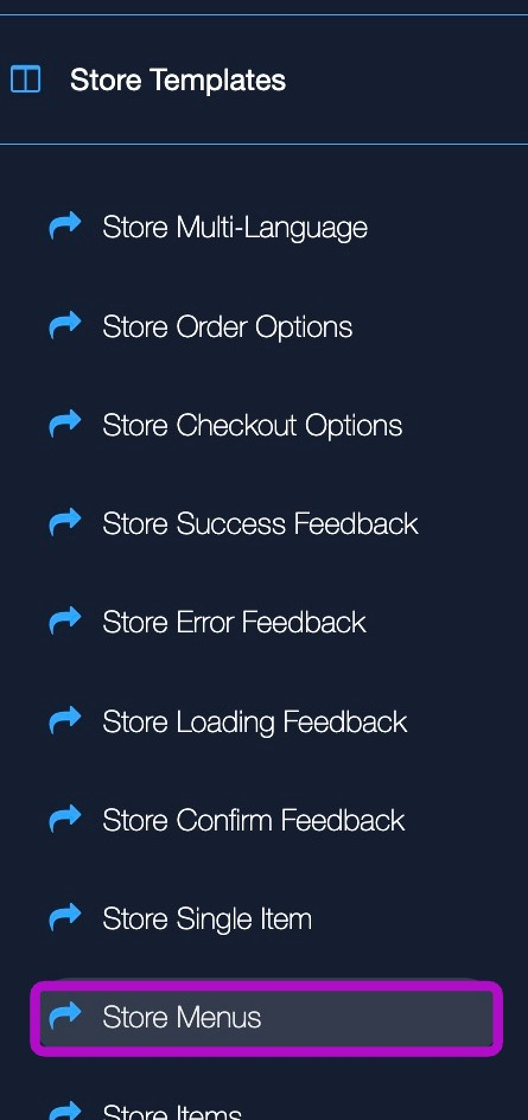
5. Navigate to "Store Menus" under "Store Templates" in the sidebar.
6. Click "+ Add template".

7. Enter a template name and click "Save".

Tip: Refer to the "SST - MENU GUIDE" for a detailed guide on the menu design template.
STORE SINGLE ITEM TEMPLATE
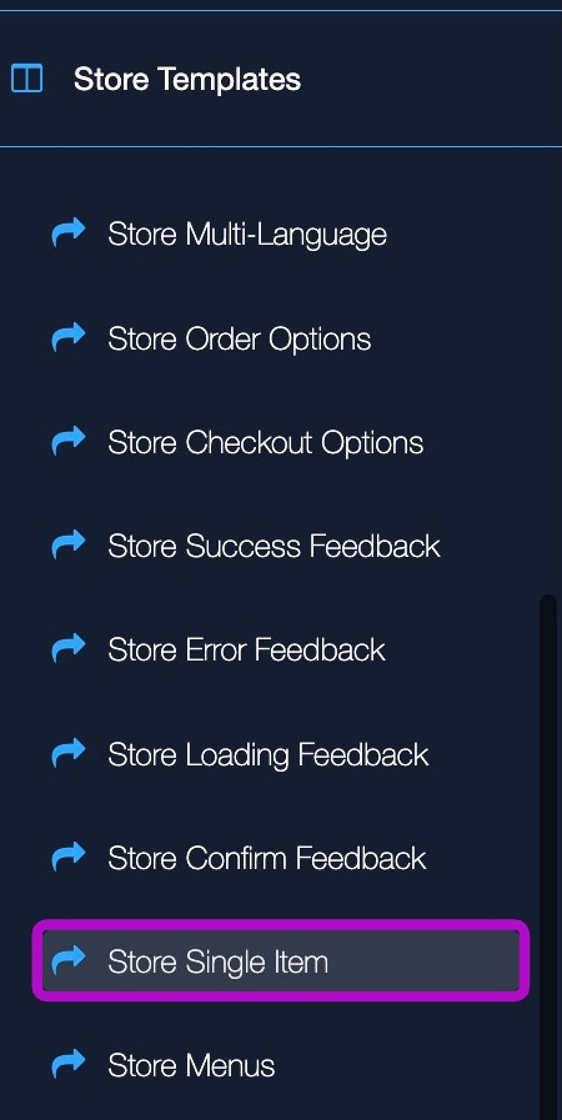
8. Navigate to "Store Single Item" under "Store Templates" in the sidebar
9. Click "+ Add template"

10. Enter a template name and click "Save"

Tip: Refer to the "SST - SINGLE ITEM TEMPLATE GUIDE" for a detailed guide on the single item design template.
STORE CART TEMPLATE
11. Navigate to "Store Cart" under "Store Templates" in the sidebar

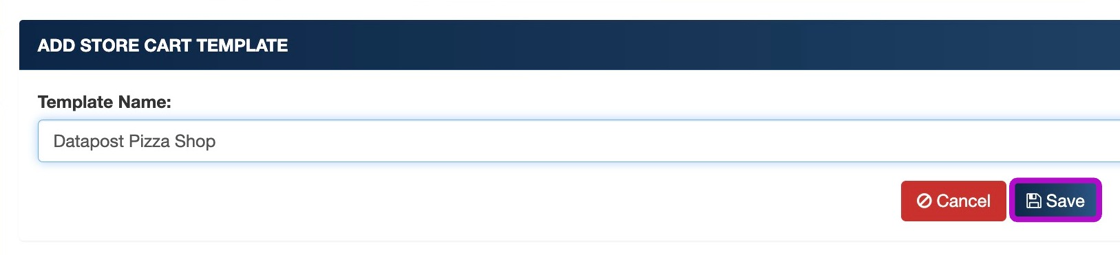
12. Click "+ Add template"

13. Enter a template name and click "Save"
Tip: Refer to the "SST - STORE CART TEMPLATE GUIDE" for a detailed guide on the store cart design template.
STORE ITEM SIZES TEMPLATE
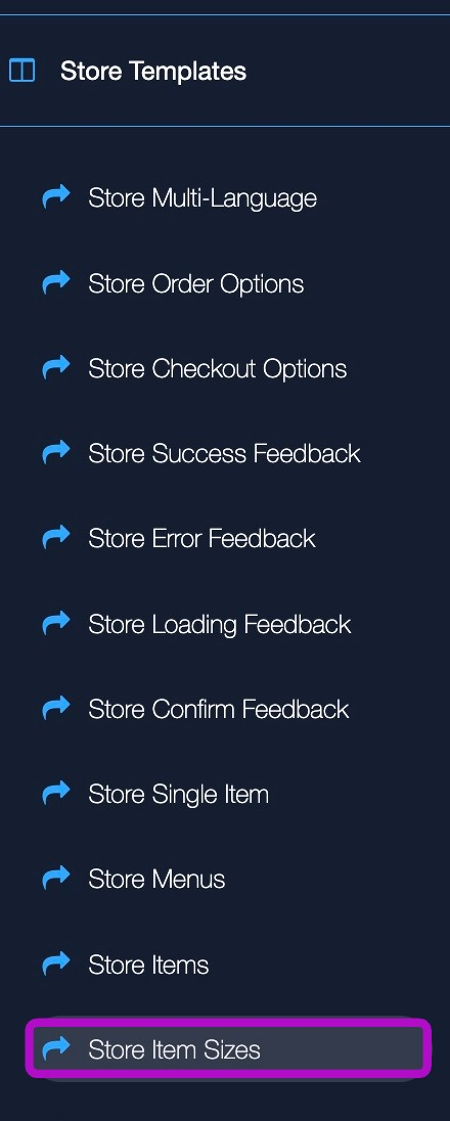
14. Navigate to "Store Item Sizes" under "Store Templates" in the sidebar
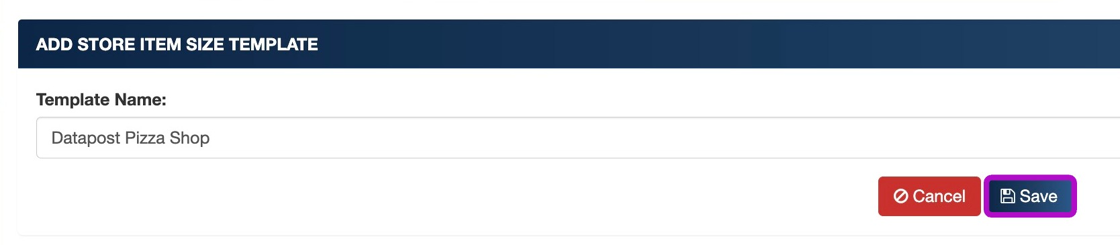
15. Click "+ Add template"

16. Enter a template name and click "Save"
Tip: Refer to the "SST - STORE ITEM SIZE GUIDE" for a detailed guide on the item size design template.
STORE MULTI-LANGUAGE TEMPLATE
17. Click "Store Multi-Language"

18. Click "+ Add template"

19. Enter a name for the template and click "Save".

Tip: Refer to the "SST - MULTI-LANGUAGE GUIDE" for a detailed guide on the Suggestive/Upselling design template.
STORE ORDER OPTIONS TEMPLATE
20. Navigate to "Store Order Options" under "Store Templates" in the sidebar

21. Click "+ Add template"

22. Enter a template name and click "Save"

Tip: Refer to the "SST - ORDER OPTIONS GUIDE" for a detailed guide on the Suggestive/Upselling design template.
SUCCESS FEEDBACK TEMPLATE
23. Navigate to "Store Success Feedback" under "Store Templates"

24. Click "+ Add template"

25. Enter a template name and click "Save"

Tip: Refer to the "SST - SUCCESS TEMPLATE GUIDE" for a detailed guide on the Success design template.
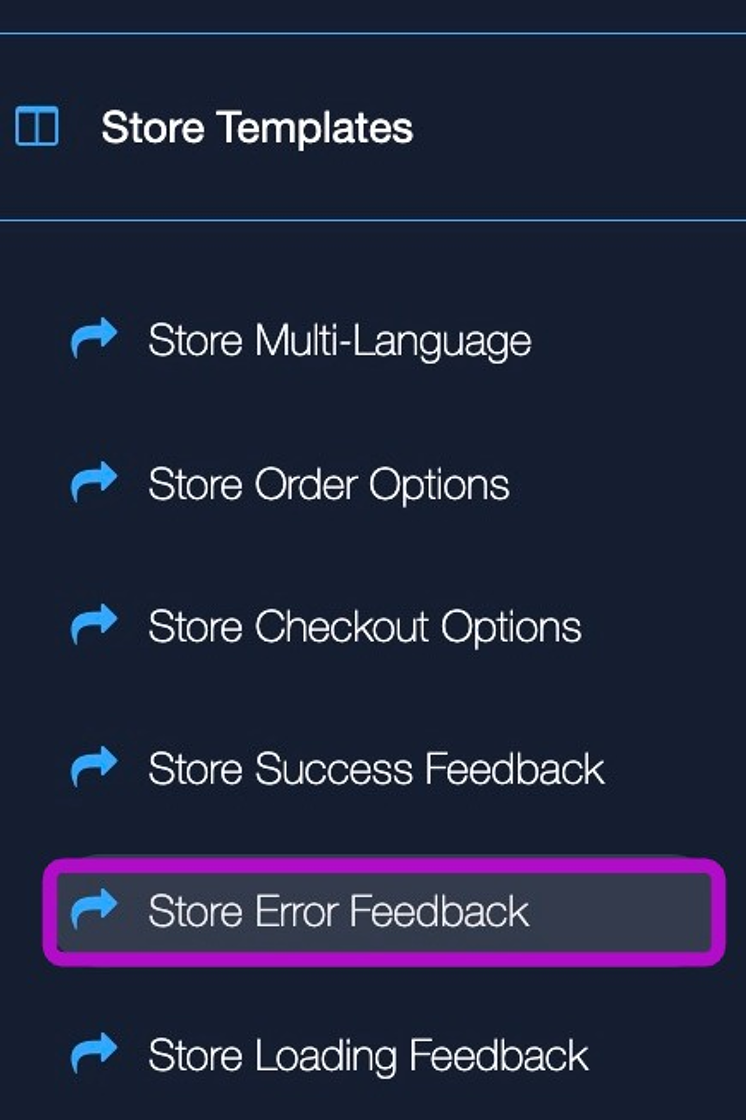
ERROR FEEDBACK TEMPLATE
26. Navigate to "Store Error Feedback" under "Store Templates"
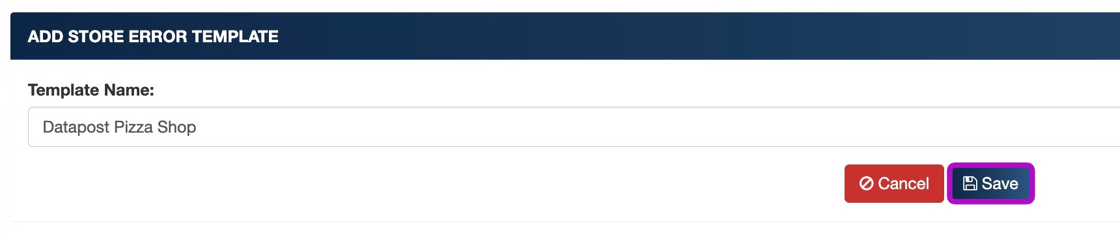
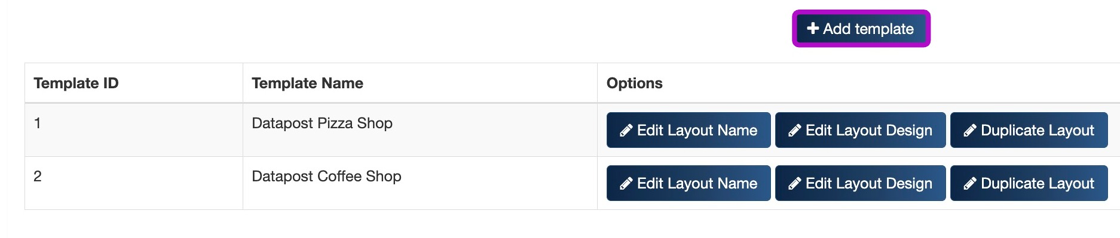
27. Click "+ Add template"

28. Enter a template name and click "Save"
Tip: Refer to the "SST - ERROR FEEDBACK TEMPLATE GUIDE" for a detailed guide on the Loading Error design template.
LOADING FEEDBACK TEMPLATE
29. Navigate to "Store Loading Feedback" under "Store Templates" in the sidebar

30. Click "+ Add template"
31. Enter a template name and click "Save"

Tip: Refer to the "SST - LOADING FEEDBACK TEMPLATE GUIDE" for a detailed guide on the Loading Feedback design template.
CONFIRM FEEDBACK TEMPLATE
32. Navigate to "Store Confirm Feedback" under "Store Templates" in the sidebar

33. Click "+ Add template"

34. Enter a template name and click "Save"

Tip: Refer to the "SST - CONFIRM FEEDBACK TEMPLATE GUIDE" for a detailed guide on the Confirm Feedback design template.
STORE CHECKOUT OPTIONS TEMPLATE
35. Navigate to "Store Checkout Options" under "Store Templates" in the sidebar

36. Click "+ Add Template"

37. Enter a template name and click "Save"

Tip: Refer to the "SST - STORE CHECKOUT OPTIONS GUIDE" for a detailed guide on the store checkout options design template.
CREATE A STORE
38. Navigate to "Stores" under "Menu configurations" in the sidebar.

39. Click "+ Add store"

40. Fill out all relevant fields in the form (See below tips for more info on each option)

Tip: - "Store name": Identifier for the name of the store.
- "Store description": Identifier for the description of the store.
- "Store registration": Identifier for the registration number of the store.
- "Store vat no": Identifier for the vat no of the store.
- "Store printer name": The network name of the back office printer. The SST prints over network to the back office printers and USB for the customer receipts.
- "Store has printer template/size": Select a template. The number represents the width of the receipt paper in mm.
- "Store Suggestions/Upsell page": (Inactive/Active). This decides where the store will display the store suggestions/upselling template.
- "Store has suggestive/upsell template": Select the Store Suggestive/Upselling Template created previously.
- "Store integration type": This option allows to integrate with third-party payment providers. Contact the Datapost Support Team for more info (support@datapost.freshdesk.com)
- "Store has menu template": Select the Store Menus Template created previously.
- "Store has language(s)": Select the languages you wish the store to display. You can select multiple or just one.
- "Store has multi-store template": Select the Store Multi-Store Template created previously.
- "Store has order option(s)": Select desired order options such as "Takeaway" and "Sit-Down" or create your own on the Order Options configuration page.
- "Store has order options template": Select the Store Order Options Template created previously.
- "Store has item template": Select the Store Single ItemTemplate created previously.
- "Store has item size template": Select the Store Item Sizes Template created previously.
- "Store has item options template": Select the Store Item Options Template created previously.
- "Store has item single template": Select the Store Single Item Template created previously.
- "Store has cart template": Select the Store Cart Template created previously.
- "Store has checkout template": Select the Store Checkout Template created previously.
- "Store has success template": Select the Store Success Feedback Template created previously.
- "Store has error template": Select the Store Error Feedback Template created previously.
- "Store has loading template": Select the Store Loading Feedback Template created previously.
- "Store has confirm template": Select the Store Confirm Feedback Template created previously.
- "Store logo": Select a logo that will display on the oder review for the store.
- "Store receipt logo": Select a logo that will display on the customer receipt/slip.
41. Click "Save".